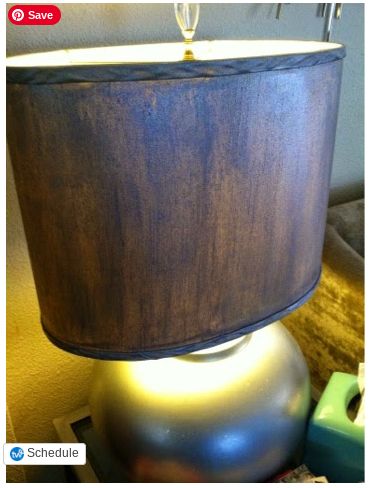
Ever look at an old piece of decor and think, “You’ve got potential—I just need to figure out how”? That was me with this lamp I scored at Goodwill. It had been rocking the same look for five years, and while it did the job, I felt like it could use a little makeover magic. Armed with a tight budget and a bit of DIY inspiration, I gave it a transformation that involved some silver paint, a bit of craftiness, and a surprise twist with foiled cardstock. Trust me, you’re going to want to see how this little lamp glow-up turned out (and how easy it is to try yourself)!
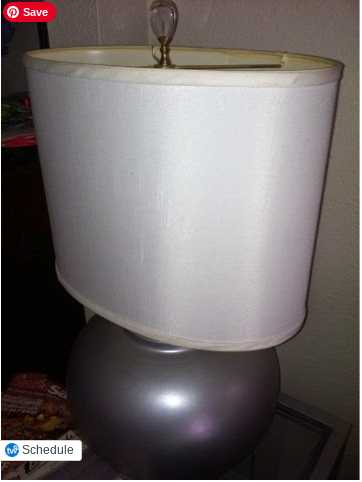
I grabbed this lamp base ages ago at Goodwill. The shade? Found that on clearance at Marshall’s. They didn’t exactly come as a set, but hey, who am I to ignore a great combo when I see it? Oval shade, round base—it’s like lamp matchmaking.
I spray-painted the whole thing silver (would’ve loved a shinier chrome, but let’s save that saga for another day), popped on a fancy finial, and voilà—lamp done! And that’s basically been its vibe for the past five years.
Lamp Glow-Up
Now, I don’t know about you, but whenever my wallet starts looking thin, I get a surge of DIY motivation. So, I thought, “Maybe it’s time to freshen up ol’ silver here.” Somewhere in a magazine, I’d seen a lamp with a shade that matched its base, and I thought, easy enough—I’ll just paint the lampshade silver too.
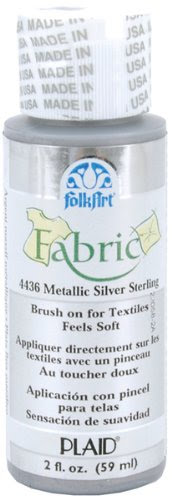
Technically, I had some metallic craft paint around, but since the shade has a linen texture, I went the extra mile and ordered fabric paint in silver (shoutout to online shopping when local stores are a letdown).
Prepping the Lampshade
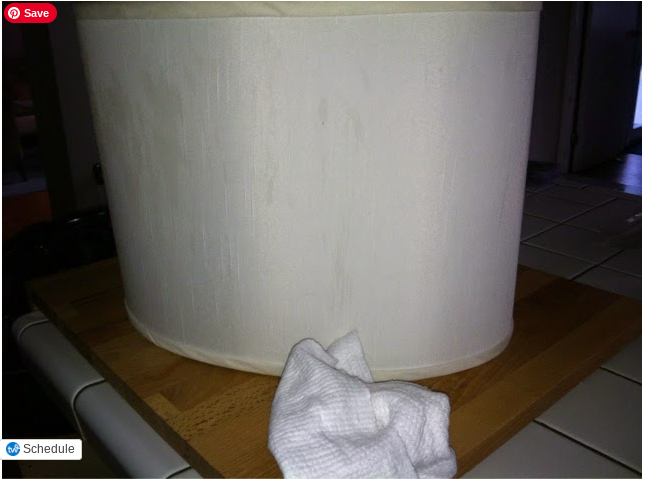
Step one: give the lampshade a quick wipe-down with a mild cleaner and a lint-free cloth. No one wants dust cramping their DIY style, right?
DESIGNER TIP VIBE: Those magic eraser sponges are really great at getting out smudges and marks.
Painting the Lampshade
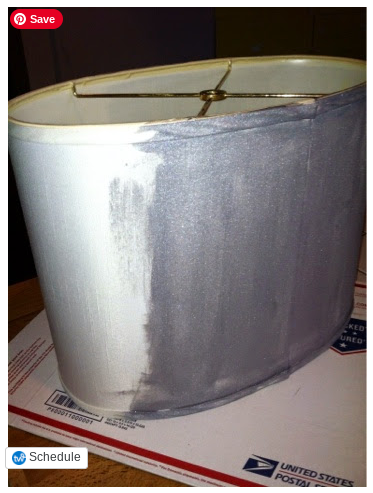
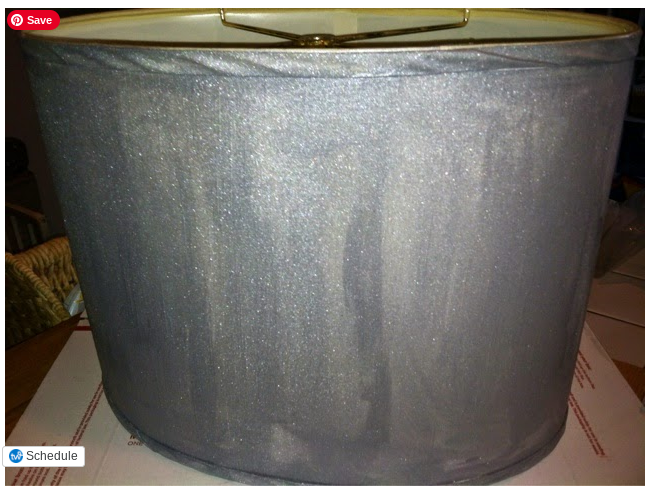
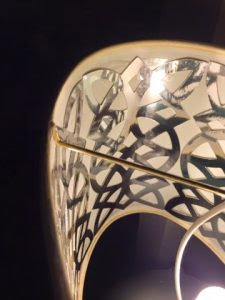
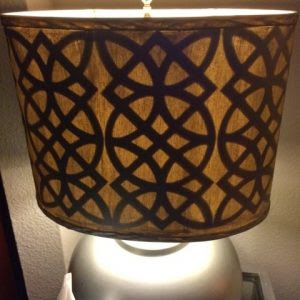
Then I got to work with a foam brush, using long strokes to coat the shade. Four coats later—because who’s satisfied with just one?—I had a solid, even silver shade. Not bad, right? Except…then I turned the light on. Suddenly, every brushstroke was on full display, like an art piece I didn’t ask for. The shade was letting a bit too much light through for my taste, and the brushstrokes weren’t quite the look I was going for. So I figured, “Okay, let’s try lining the inside.”
Lining the Lampshade
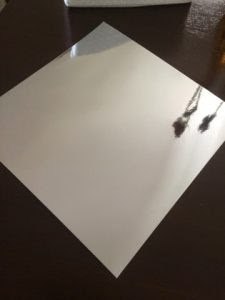
At first, I thought about silver leafing, which would’ve looked fabulous, but then I noticed the flammable glue and decided to skip that potential fire hazard. A little store wander later (sometimes the best ideas come when you’re aimlessly pacing the craft aisles), I found some foiled cardstock in the scrapbooking section—just 99 cents a sheet, thank you very much! I grabbed four sheets, thinking I’d stick them inside the shade with some adhesive tape from the dollar store. Easy, right?
Click here to get a dose of budget-friendly design inspiration sent directly to your inbox.
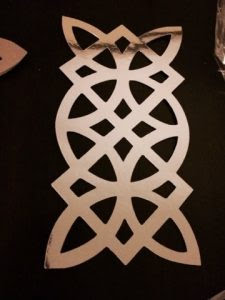
Cricut Cuts the Perfect Lampshade Liner
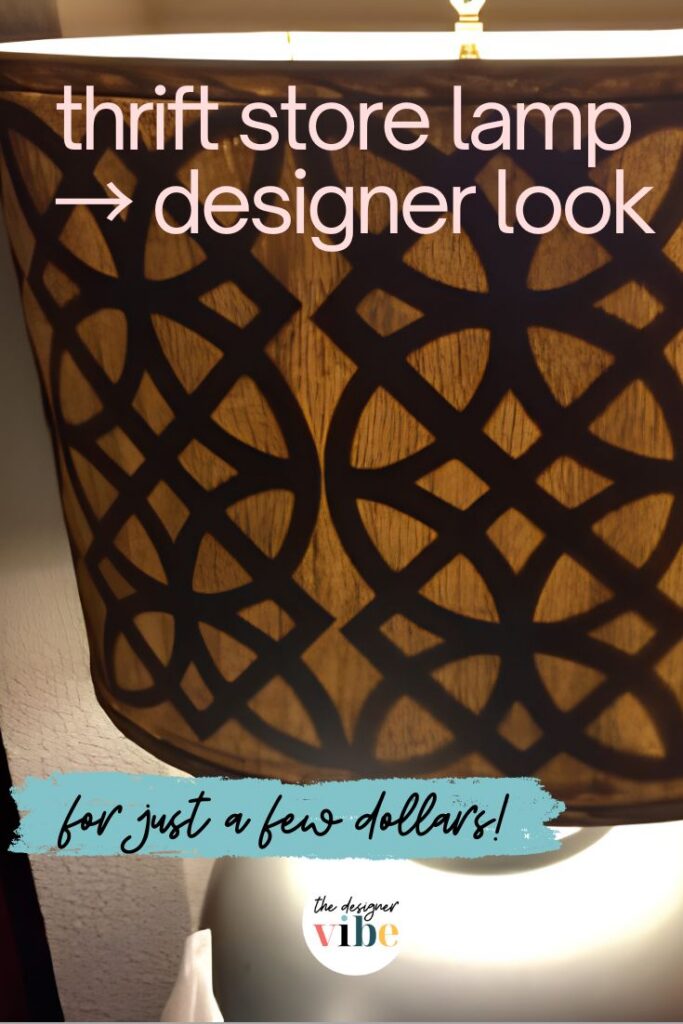
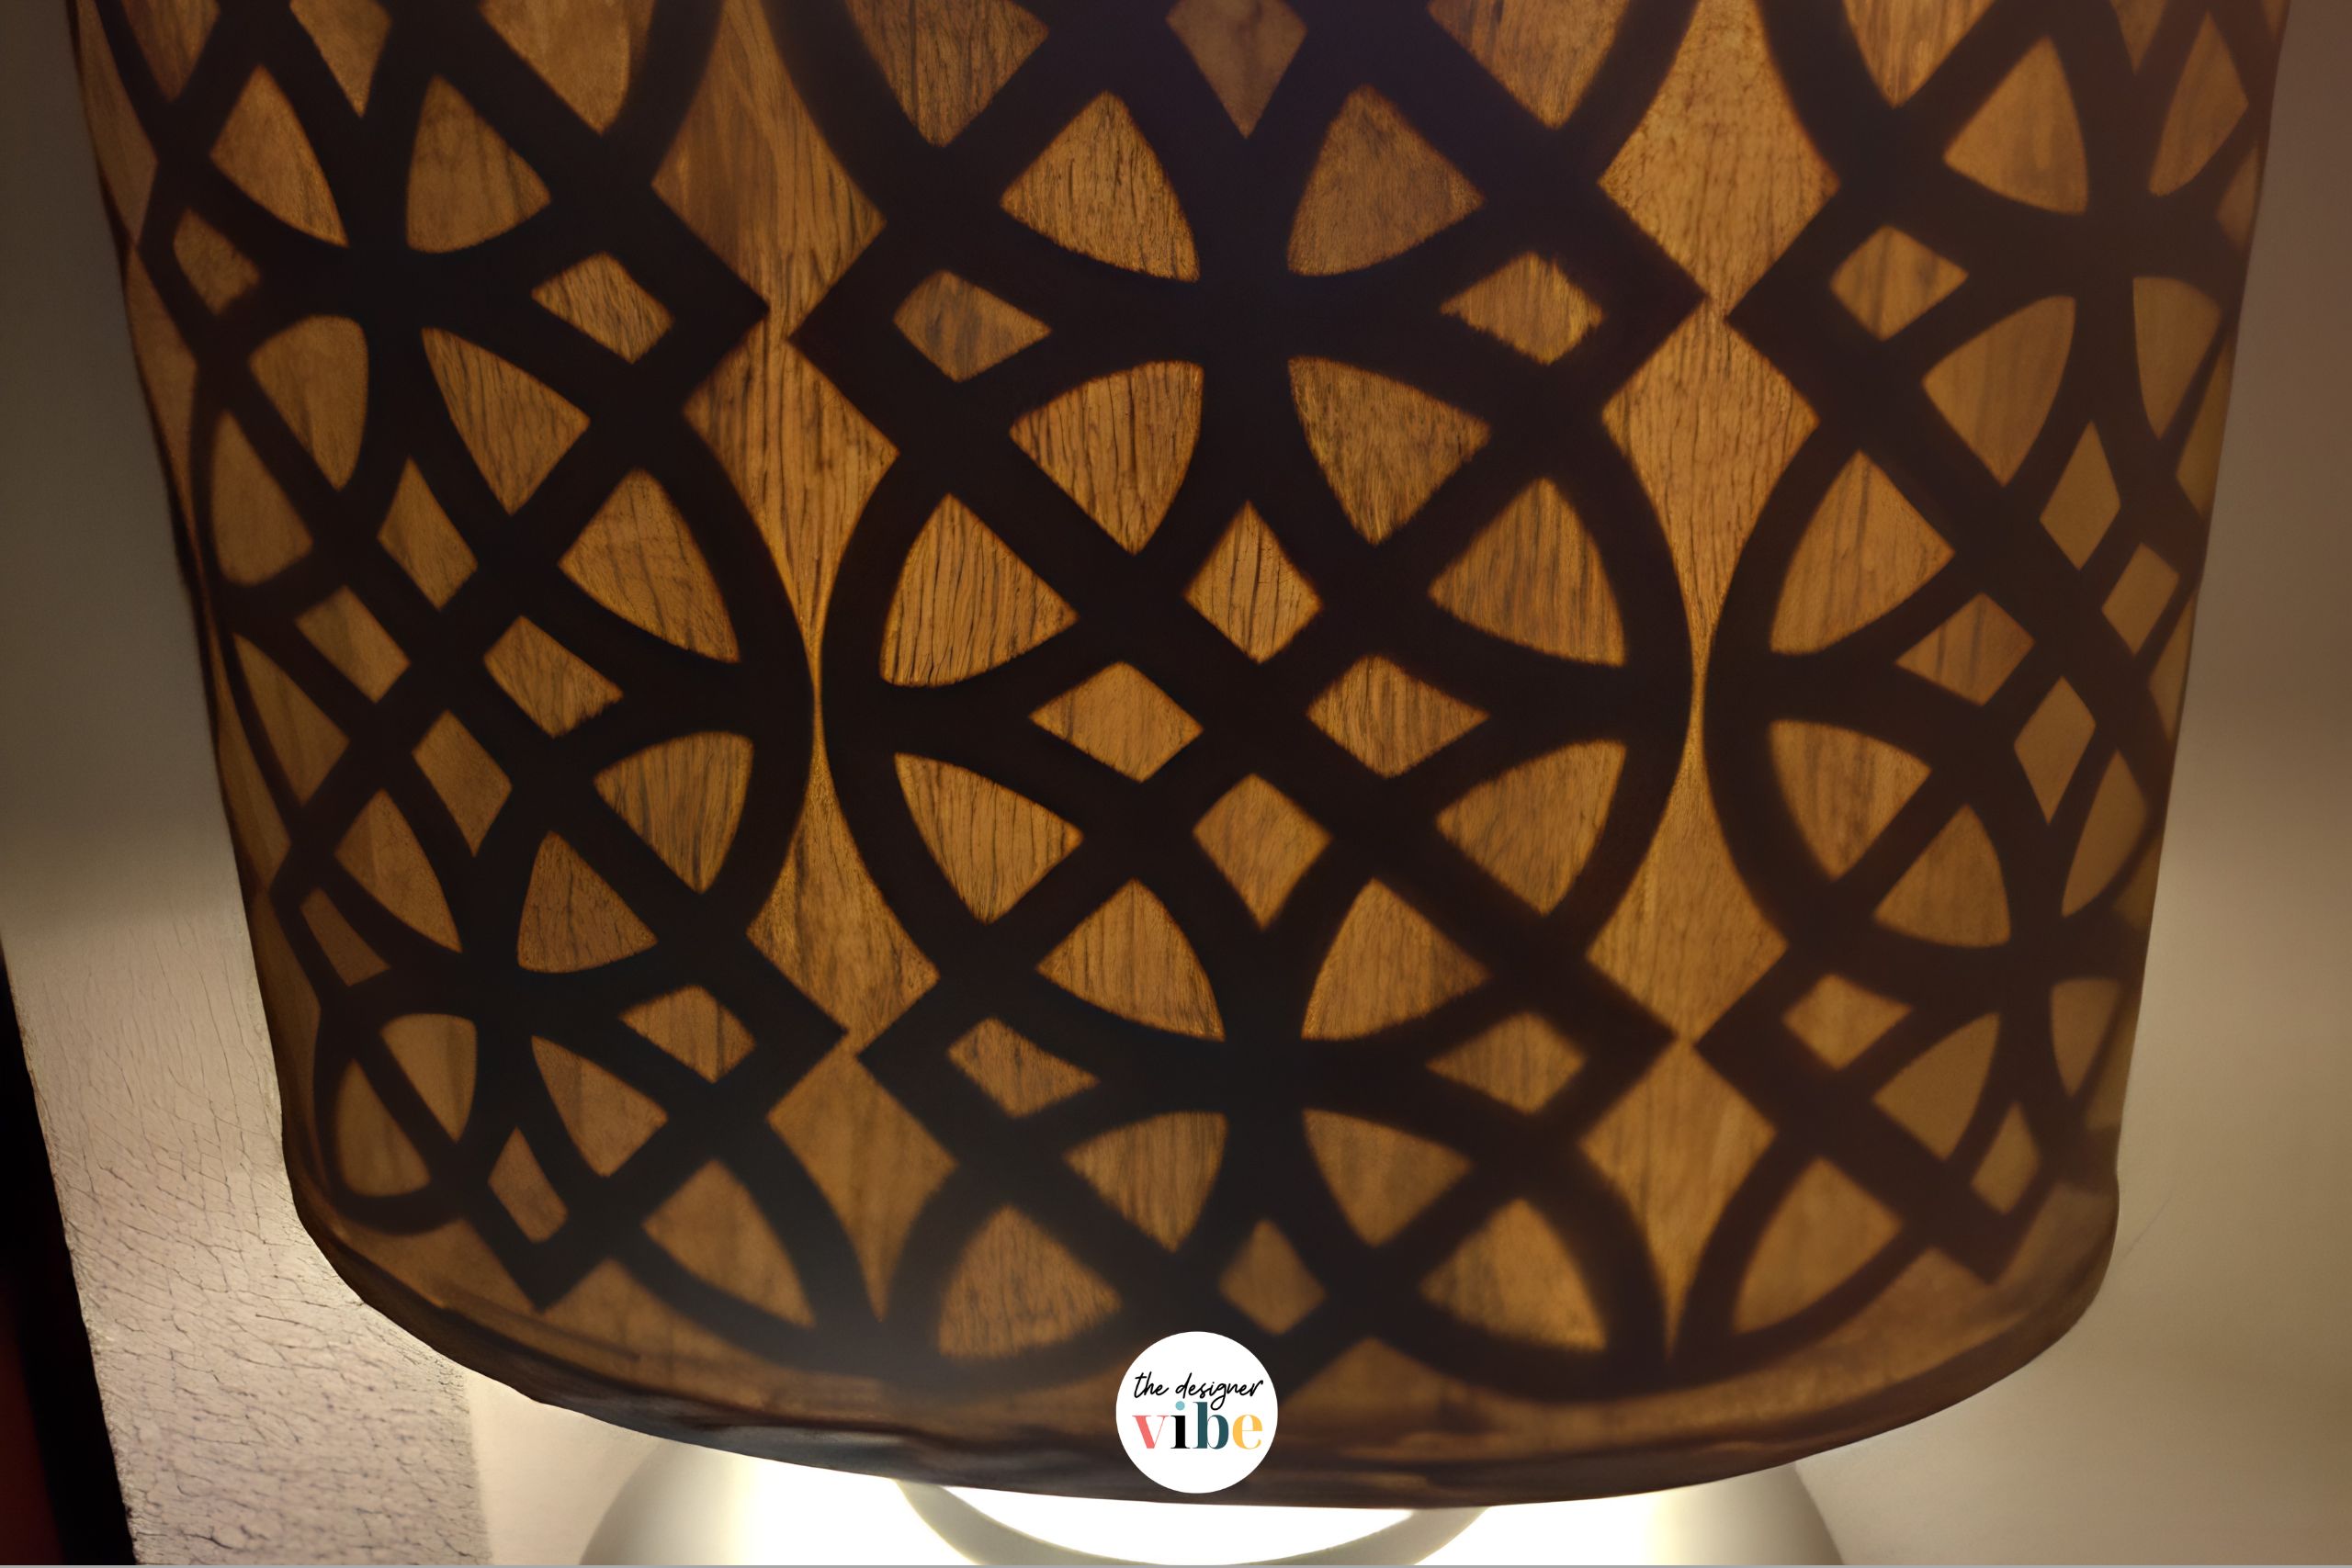
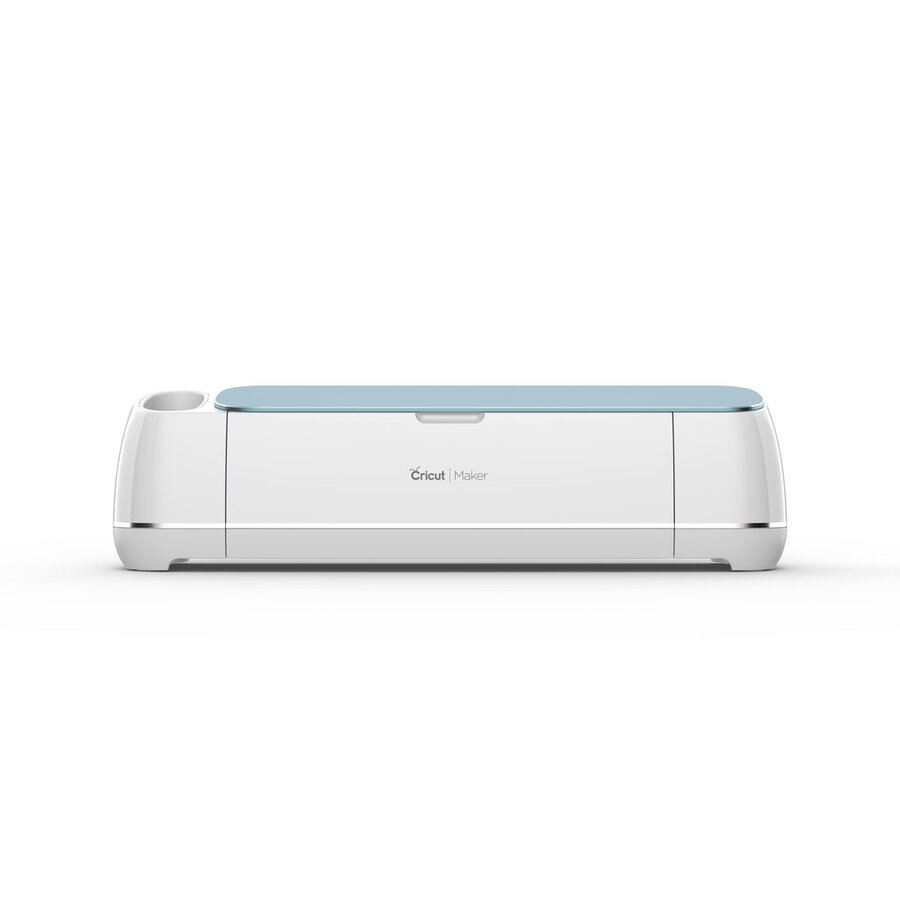
But then the crafter in me got bold. What if I ran that cardstock through my Cricut with a fun pattern? Worst-case scenario, I’d lose a dollar. I picked a frilly design, cut it to size, and attached it with mounting tape inside the shade. And just like that, no more visible brushstrokes—just a stylish silver shade with a little extra flair.
Get More Design Vibes:
- QUICKIE PROJECT: DIY Tabletop Candle Box
- Lighted Ceramic Stool Project (Easy DIY That Looks High-End)
Glow-Up Gorgeous
I can’t tell you how happy I am with my new designer lampshade. I mean you gotta love it when an easy project comes together to create a one-of-a-kind piece. The lamp looks amazing whether its on or off.
Not bad for a few bucks, right? Now I’m looking at every lamp in the house like, who’s next?