So I think I might have a problem with mirrors. Well, maybe not a problem but most likely an obsession. It’s not that I like standing in front of them, so I don’t think it’s vanity. I guess what I love about mirrors is how sculptural they are. Well, this obsession has just taken me through the looking glass and to one of the grandest DIY projects I’ve accomplished so far. Here is a DIY custom mirror dupe.
DIY Custom Statement Mirror
This post may contain affiliate links. You can check my disclosure for more info!
Last updated: 09/22/22
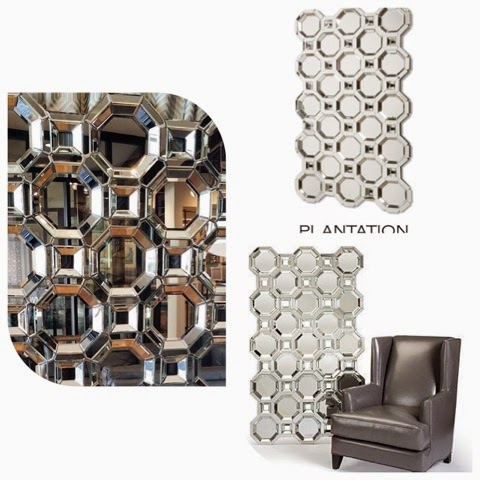
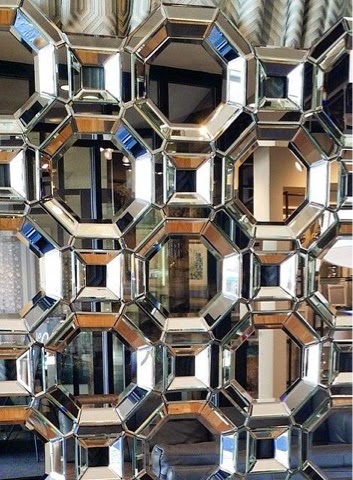
I have been admiring the Axis Mirror by ZGallerie for some time (which also looks very similar to a mirror by PLANTATION called Futura). I originally saw it online (which believe me, does not do it justice) and loved the geometry of the design but when I took a field trip to the store I absolutely fell in love.
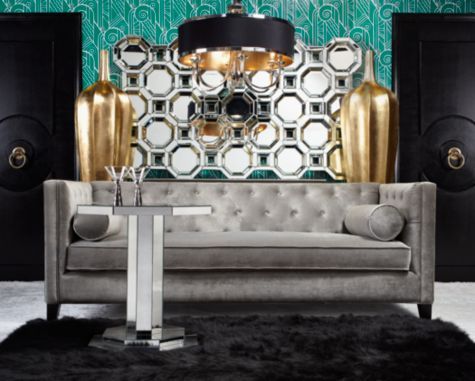
The mirror has dimensions and intricate angles that make it a real work of art. Although in my opinion, the Axis Mirror is well worth the $999.00 price tag (gulp), my budget did not agree. So it sadly sat as a pin on my The Boudoir Project Pinterest board, knowing that I would probably have to settle for something far less dramatic for my bedroom.
But Wait … A DIY moment
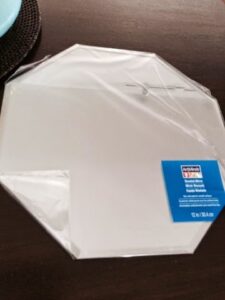
Then on one of my weekly trips to Michaels, I noticed these octagon mirrors. They came in 10″ and 12″ sizes for $4.99 & $5.99. Remembering that the Axis Mirror was composed mainly of octagons and squares I immediately concocted a plan to recreate my beloved statement mirror. I actually made a plan for using the 10″ octagons, but eventually settled on the 12″ size as it would get me closer to the overall size of the mirror I was desiring.
I had a DIY moment! You know, kinda like Oprah’s Ahh Ha moments. What if I created a DIY custom mirror dupe of my favorite mirror?
[raw_html_snippet id="michaels click buy create"] |
My DIY Custom Mirror -Just How I Did It
So on to the project. The first thing I did was research the dimensions of the original mirror which were 43.25”W x 3”D x 75”H. At that point, I looked at the shapes involved, an octagon and square. Then I did some sourcing to see what sizes of these two shapes I could find.
They need to be readily available at my nearby craft stores or online. This was important because I knew I would be wanting to use coupons to purchase as many components of this project as I could so I could keep the bottom line low.
I was able to determine that both 10″ and 12″ beveled octagon-shaped mirrors were easy to find so I had my pick. So I assessed which size square mirror would work with either of the octagon mirrors so that I could determine the overall size of a full-sized mirror. I needed to do this so I could make a final determination on which pieces I wanted to use for my mirror.
Mirror, Mirror
Ultimately, I decided on the 12″ mirror with a 5″ square in between (A slightly smaller mirror could be made with a 10″ octagon with a 4″ square mirror). This would bring my floor mirror to a size of 46″ x 80″. I should say that I did take the time to make sure that size would fit in the space I had planned for it.
I mean how shattering (pun intended) it would be to do all this work only to find that it didn’t fit in my room.
I knew that the base would be pretty straightforward so I must admit I did not put much thought into it at this point. I just set out to compile the multiple mirrors I would need. After mapping things out I determined that I would need 23 octagons and 23 squares.
[raw_html_snippet id="cricut machine"] |
I used my weekly 40% off Michaels coupons (a process which my daughter noted would take forever). About half-way through, I scored some 50% off coupons, only to find that my local store was fresh out of the 12″ octagons. Oh well, I am not afraid to say I will travel for a deal. Anytime I was out of the city limits I checked for a nearby Michaels to obviously check their inventory.
I was also able to purchase them online and have them delivered to my local store. Eventually, I was able to get all 23-octagon mirrors for just under $85.00.
Gotta Love Those Dollar Stores
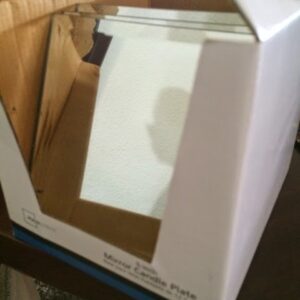
I was finally able to find 5″ beveled square mirrors at this site . Even though I would have to buy two sets which would leave me with extra mirrors that I didn’t really need, I was excited. Also, the price of these was not exactly what I feel was a bargain when you factor in shipping. The square mirrors would total just under $40.00. Still, at least I had found all the components to move forward with this project.
Now here is where I am so glad I had what I call PROJECT PATIENCE. What is PROJECT PATIENCE?
Well, this is the part of the project where you resist making obvious or impulsive decisions or in this case purchases. With a resource found for the square mirrors, I did not purchase them. I did this for a couple of reasons.
First, our house is tiny and I knew I had limited space to store the components of this project. Second, I was still hoping I could find the square mirrors at a bargain price. Third, I knew I had a little bit of time (remember forever) before I would have all of the octagons I needed. I was determined to only use Michaels’s coupons to get them.
Now here is where things got exciting. During a routine stroll through my neighborhood, 99 cents only store I checked to see if they had any mirrors. And what to my wondering eyes should appear (oops, wrong season)? Square beveled mirrors!
I didn’t have my trusty measuring tape with me so I was not certain they were the requisite 5″, but hopefull I purchased one to take home and measure against the octagon mirror. I could not wait to get home and check!
Well, needless to say, my heart leaped when the measurement checked out. Not wanting to take any chances, I returned to the store that day to get all that I would need for my DIY custom mirror dupe project.
I also got a few extra, just in case right?
So I was able to get all of the square mirrors for $26.00, which included a few extras. Did you hear that? I said 26 bucks. Now for the base.
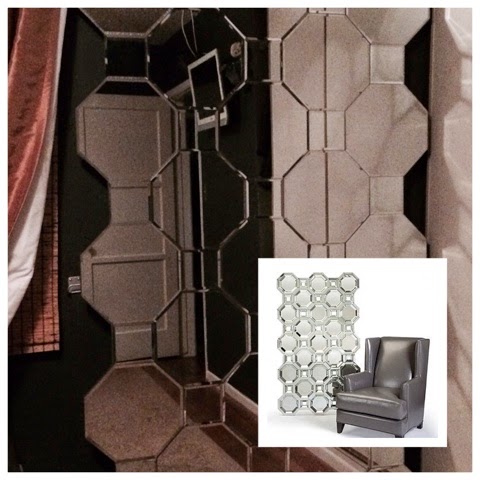
So just before constructing my mirror I took that field trip I was telling you about to ZGallarie to check out the inspiration in person, I just love that store. Anyway, up close the online picture doesn’t even do it justice. The Axis Mirror is constructed with intricate angles of mirror pieces that would be very hard to replicate. Look at the detail. The squares in the mirror are actually hollowed out holes and not mirrors at all (not clearly represented in the picture). This mirror is clearly worth the grand they are asking for it. Just beautiful!
First Base
Back to budget reality; I now felt less pressure knowing that I would not really be replicating the original. Even though it wouldn’t be exactly the same, the geometry would basically be very close.
Oh and something else I noted, the original mirror, with all of its intricate detail, did so at the cost of distorting the image in the mirror. Since my mirror would not have as many angles it would give a clearer reflection which is what I needed from my bedroom floor mirror.
DIY Custom Mirror
I wish I could say that I eagerly assembled the mirror at this point. But in fact, it would take me almost three months to get to the actual project day. Finally, I purchased and had cut a 3/4″ MDF board to 46″ x 80″ from Home Depot along with mirror mastic (special mirror adhesive) and a caulking gun at a cost of $38.90.
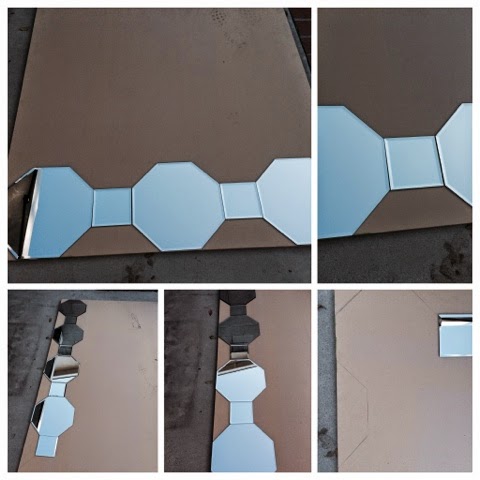
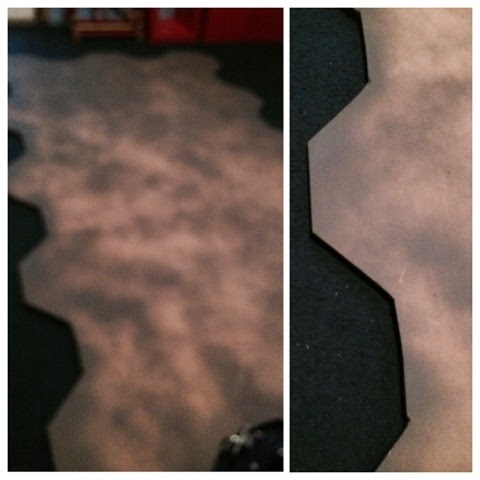
I had always intended to cut out the profile like the original mirror. So I first laid out the pattern using the mirrors and then traced a cutting line in pencil. Then using a jigsaw I cut the profile all the way around the base.
I actually forgot to get a picture of the wood freshly cut. But here is a picture after priming (I primed and painted the backside of the mirror. I just used primer on the side where the mirrors would be adhered to). You can see the outline of the mirror shape.
[raw_html_snippet id="design furnishings"] |
DIY Custom Mirror – Pulling it Together
After that, it was really simple. I just followed the adhesive directions and used about a golf ball size mound of glue for the octagons. Maybe a quarter size for the smaller square mirrors to adhere them to the base.
I tried to make sure the seams were as tight as I could get them, but of course, it’s not perfect. At the bottom, there wound up being about a 1/2″ margin between the last mirrors and the edge of the base. This actually wound up being ok. I didn’t have to worry about the mirrors dragging on the floor when moving the mirror. I let the mirror set for about 48 hours before installing it upright.
Don’t you just love when a project comes together?
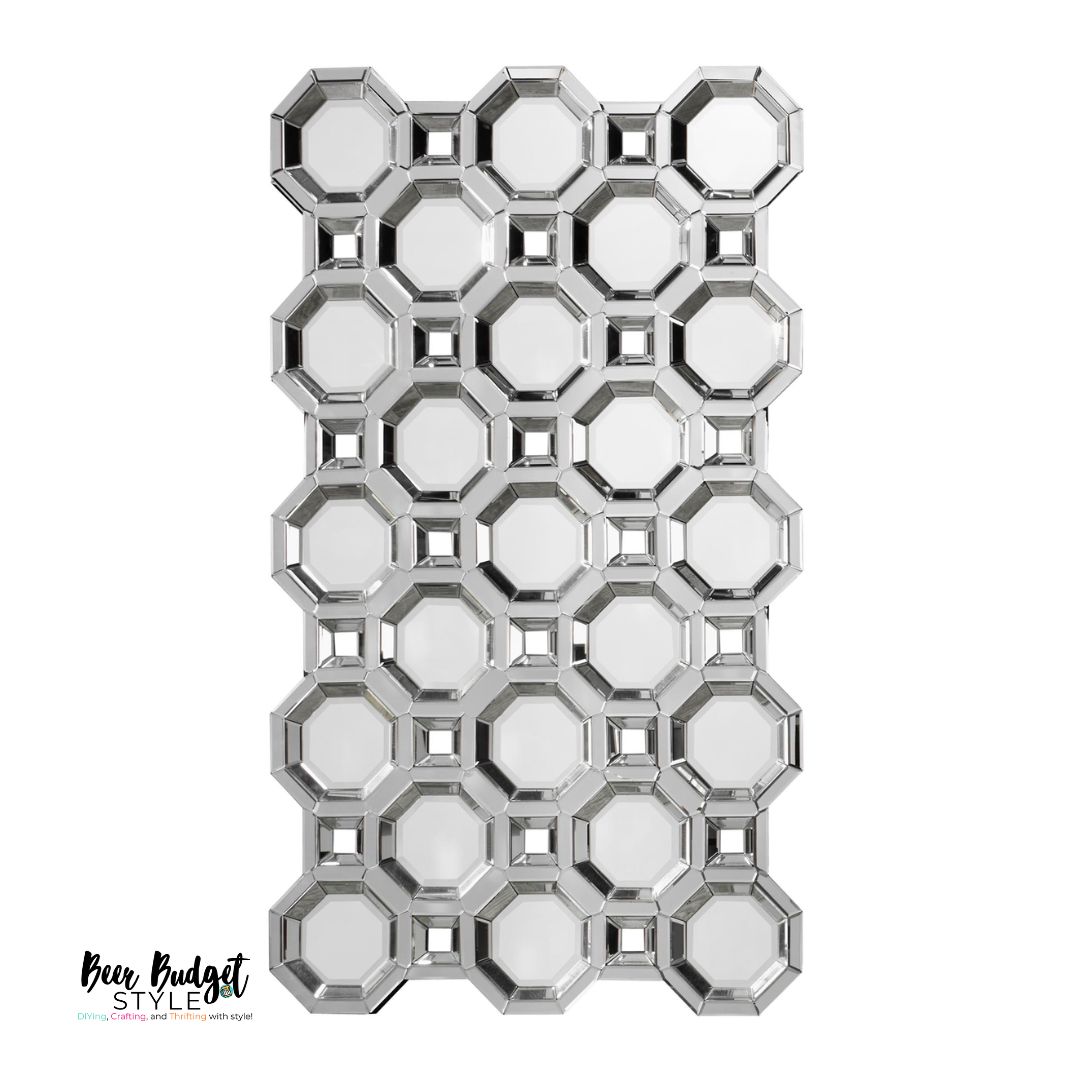
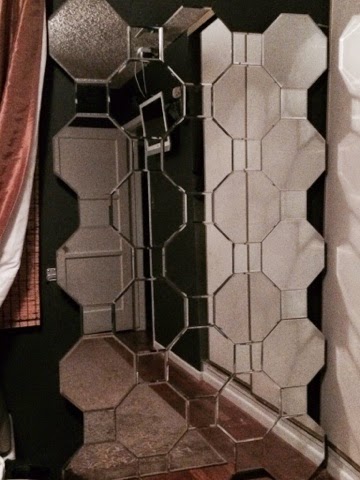
So here it is! My DIY custom mirror dupe of the Axis mirror. I love it! I’m so proud of myself. Don’t you just love when a project comes together? And no my mirror is not as intricate or amazing as the inspiration. But just like the original, the pictures don’t really do it justice.
PROJECT REFLECTION
When I saw the inspiration for this project, although I knew I could probably recreate it, I knew it would most likely be one of the most extensive projects I had done to date.
That said, I had to do it!
Even though I had already sourced a relatively inexpensive mirror that would definitely work with the decor of the room, I just couldn’t shy away from the challenge of eventually getting a mirror that looked like this. And for less than 1/6th the cost of the original. I think my DIY custom mirror dupe project was a success.
I’m sure you want to know so here it is! All in my mirror cost just under $150.00, much more agreeable with my budget.
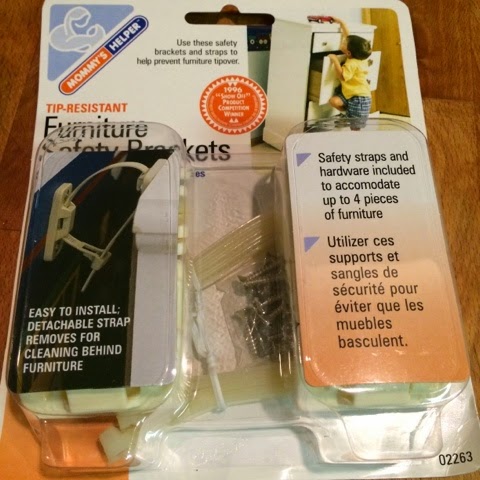
One last note; realizing that my mirror was going to be quite heavy and living in earthquake country like we do, I did purchase from Amazon a furniture anti-tip bracket made my Mother’s Helper.
I secured the mirror both at the top and bottom to hopefully avoid a calamity of epic proportions. In retrospect, I wish I had installed the brackets to the base before applying the mirrors. But I was careful to screw them in slowly so they did not puncture the mirrors.
So what do you think of the recreation of my DIY custom mirror dupe of my beloved Axis Mirror? Have you ever tried making a floor mirror? I would love to see it. Leave me a comment below and don’t forget pictures.
Want to remember this “Reflection of Axis Mirror”, to your favorite Pinterest boards or social media channels?


I think that you did a wonderful job replicating. What makes it even more special is that you did it yourself. Great job!
Thanks so much Michelle! You are so right whenever you do something that turns out, it gives you confidence for your next project.
It’s Beautiful!! When time permits I will be making one following your instructions! Thank you for a wonderful mirror project! I could never afford to buy one already made in the store!!
Thanks Lusee! I especially love taking dollar store items and turning them into statement pieces like this. I would love to see your mirror when you are done. Thanks for the comment.