Alright, buckle up and let’s dive into my (possibly excessive) obsession with mirrors. But hey, it’s not vanity—I swear! It’s the sculptural charm that’s got me hooked. And this obsession led me on a grand DIY journey to create my very own Axis Mirror knockoff. Because as much as I love it, my budget and the $999 price tag weren’t about to be friends anytime soon.
Here’s how I did it!
Create a stunning DIY Axis Mirror dupe for under $150!
Mirror Inspiration
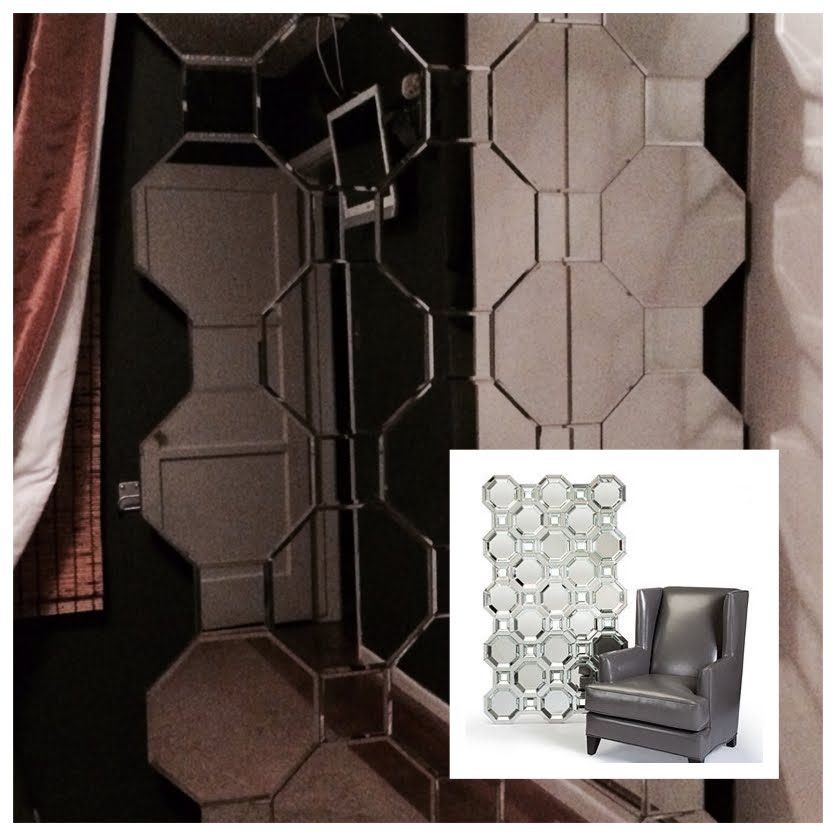
So, I’ve been drooling over the Axis Mirror by Z Gallerie for a while now. I first spotted it online (and, trust me, the internet does not do it justice). It’s got these gorgeous, angular lines that make it look more like an art installation than a mirror. I finally saw it in person, and let me tell you, I was in love. The dimension! The angles! But, alas, my wallet took one look and promptly fainted. So, I pinned it to my “Dream Bedroom” board and figured I’d have to settle for something a little less… epic. Or at least less than $1000.00.
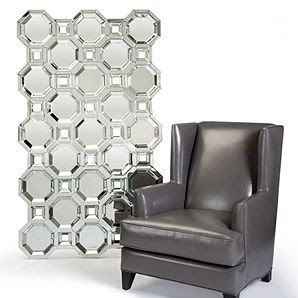
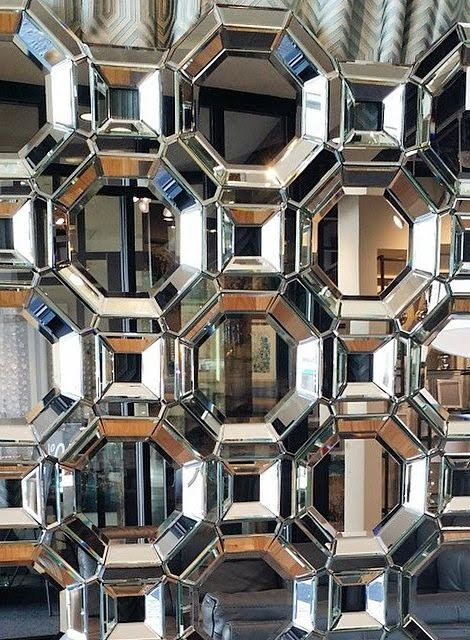
But then, fate stepped in at Michaels of all places, where I stumbled on these octagon mirrors—10″ and 12″ sizes, priced at $4.99 and $5.99. A lightbulb went off. I realized these mirrors could be the key to recreating my beloved Axis Mirror on the cheap. After a quick assessment (and some mental gymnastics involving mirror measurements), I decided the 12″ octagons would get me closest to that majestic floor mirror size I was aiming for.
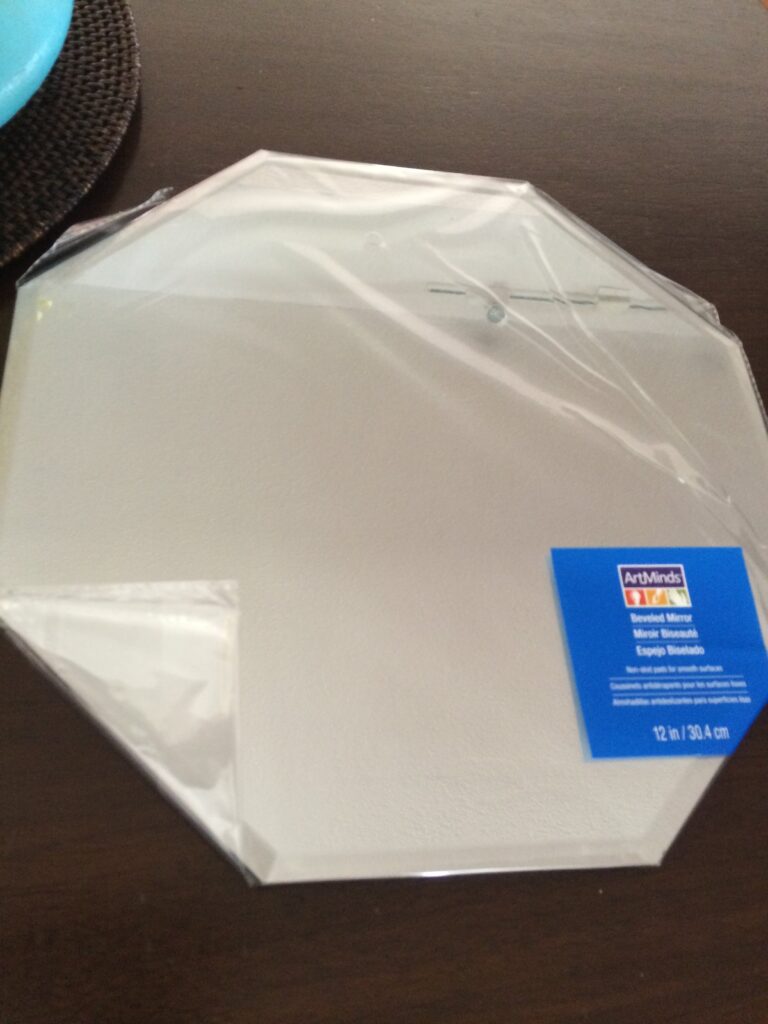
DIY Axis Mirror dupe for under $150!
Now, here’s where things got real: I went full detective mode and got the specs of the original Axis Mirror. It’s a whopping 43.25″W x 3″D x 75″H. After assessing all the shapes involved—octagons and squares—I went on a sourcing spree to see if I could get everything at craft stores. Turns out, both 10″ and 12″ beveled octagons were easy enough to find. I settled on a plan: I’d pair 12″ octagons with 5″ square mirrors to end up with a grand, 46″ x 80″ mirror. Cue happy dance. I did some math to confirm it’d fit in my space because, really, nothing’s worse than putting your heart into a project that can’t even fit where you need it!
I was determined to get those octagons one coupon at a time (shoutout to the weekly 40% off, my DIY lifeline). Halfway through, I even scored some 50% off coupons—then promptly hit the dreaded “out of stock” situation at my local Michaels. But I wasn’t about to give up. Anytime I traveled outside my city limits, I’d scope out Michaels locations to check their stock. Eventually, I pieced together all 23 octagons I needed for under $85. Not bad, right?
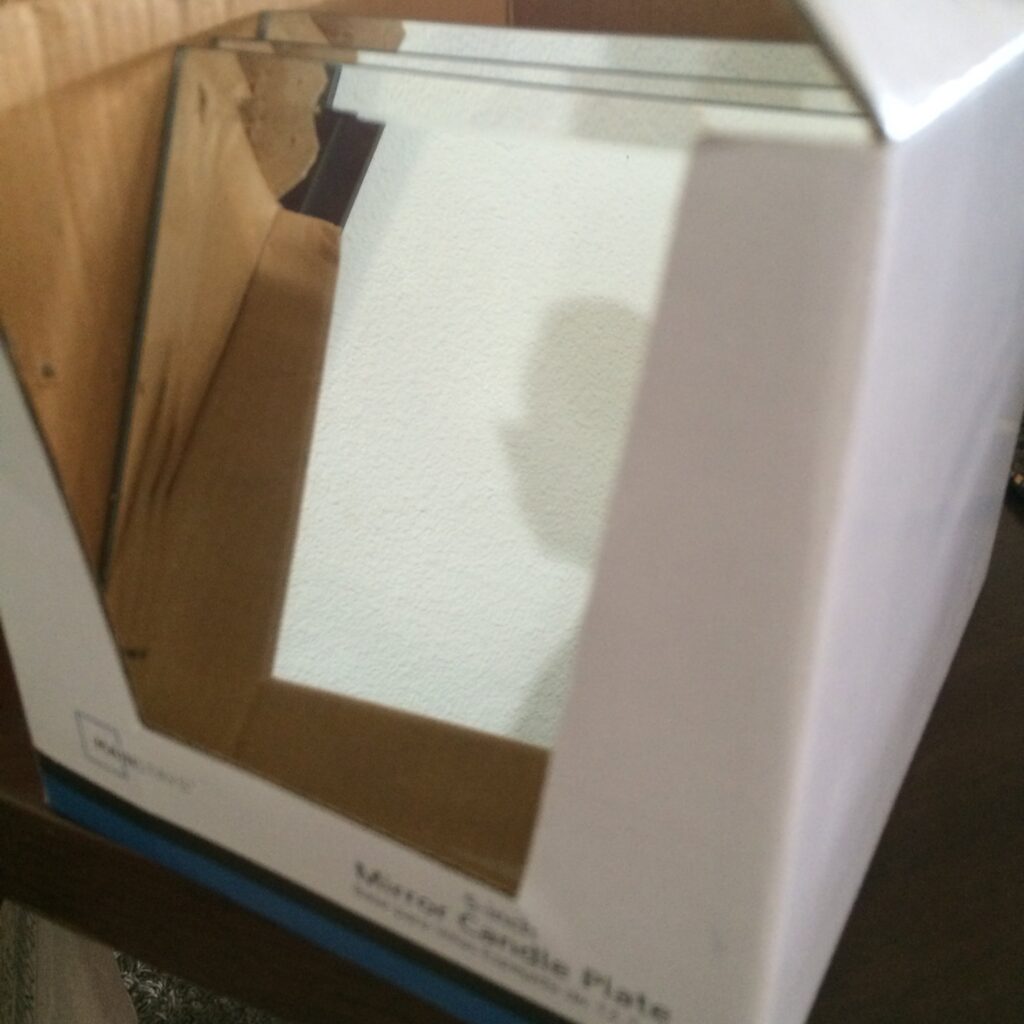
Finding the 5″ square mirrors, though, was like a treasure hunt. No luck at any of the craft stores, and the ones I found online came with a hefty shipping fee.
My persistence paid off, though—one day, while randomly browsing the local 99 Cents Only store (can you believe it?), I found the 5″ square mirrors, beveled and all! After a quick test at home (they were the right size!), I went back and grabbed 23 mirrors for just $26, extras included.
Next, I took a quick field trip back to Z Gallerie for a last look at the Axis Mirror. I realized mine wouldn’t be as intricate, but the simpler angles in my DIY version would give a clearer reflection. That was a win in my book. Armed with inspiration, I finally bought a 3/4″ MDF board cut to 46″ x 80″ from Home Depot, along with mirror mastic and a caulking gun, for $38.90.
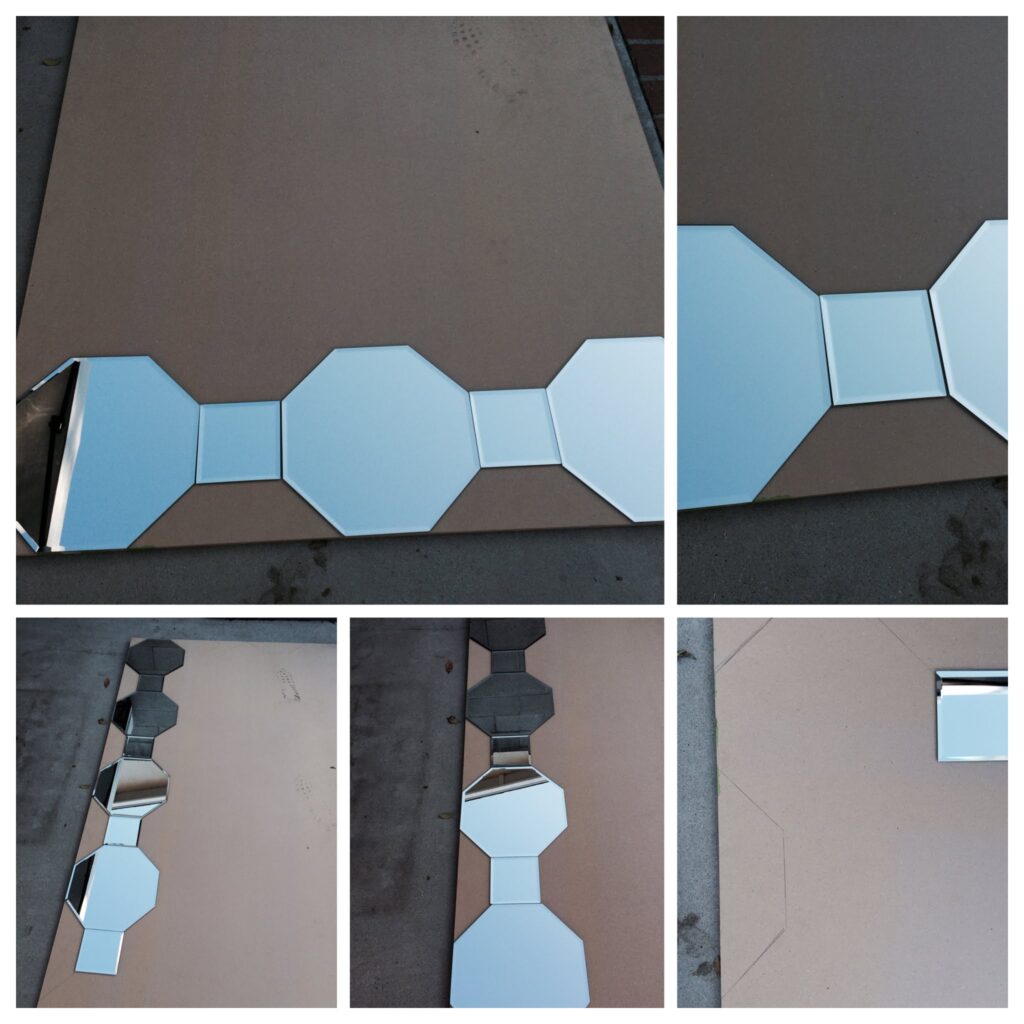
DIY Axis Mirror dupe for under $150!
Pulling It Together
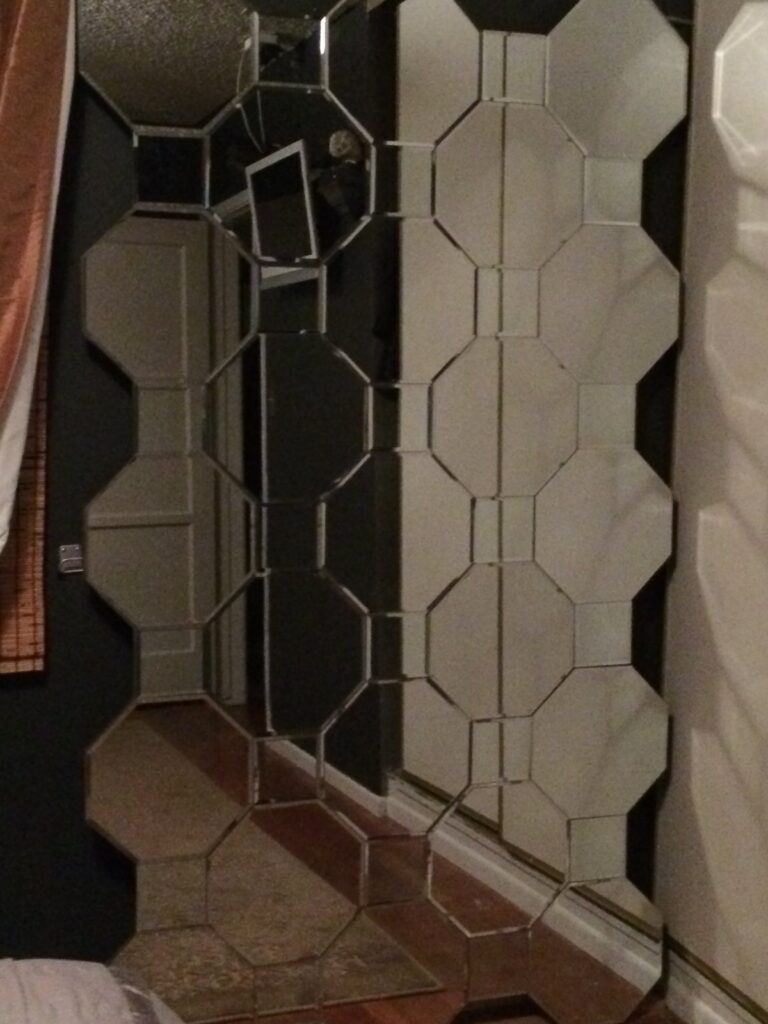
To start, I laid out all the mirrors on the board and traced the design with a pencil (see above). Then used a jigsaw to cut out the shape. After a coat of primer on the back and edges, I followed the adhesive instructions to attach each mirror, making sure the seams were tight. I left a tiny margin at the bottom so the mirrors wouldn’t scrape the floor. After letting it all set for a couple of days (yes days), I finally got my masterpiece ready for display.
Replica Reflections
And here it is, my labor of love! No, it’s not the exact replica of the Axis Mirror, but honestly? It’s a showstopper in its own right. Plus, seeing it come together after months of effort is beyond satisfying.
Project Reflection
When I started this, I knew recreating the Axis Mirror would be a big challenge. But the thought of pulling it off for a fraction of the cost kept me motivated. Final tally? Just under $150—a massive win compared to the original’s price tag. I call that a DIY success!
Pro Tips:
Final tip for anyone attempting something like this: this mirror is heavy so consider securing it to the wall, especially if you live in earthquake country like I do. I used an anti-tip bracket to keep it steady. Looking back, I should’ve done this before adding all the mirrors, but hey, live and learn.
Oh and if I had it to do all over again (and I would), I think I would have used 1/2″ MDF board. Which would have made it at least a little lighter. And I would have used those tiny tile spacers typically used when laying thicile, just to allow a tiny space between the mirrors in case of shifts possibly causing the mirrors to crack.

