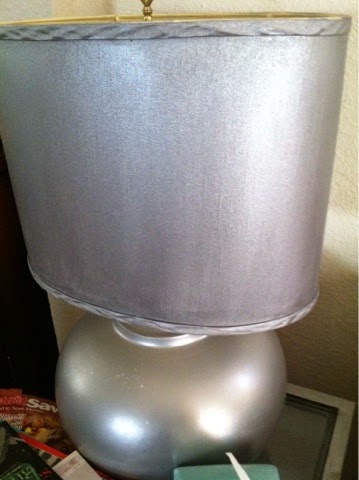
Painted Custom Lampshade
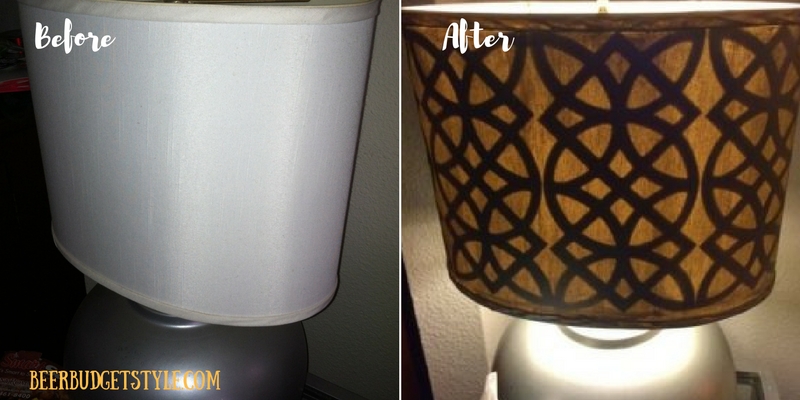
I love transforming things. Most of the pieces I truly love I have given a new life my giving them a custom touch of my own. The lamp in my living room is just one of those pieces. Check out how I took my lamp to a whole new level with a super easy custom lampshade DIY project you can do in an afternoon.
This post may contain affiliate links. You can check my disclosure for more info!
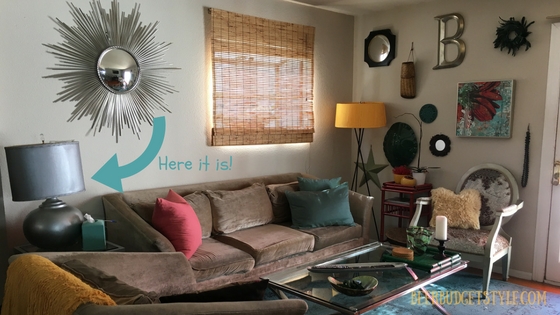
I picked up this lamp some time ago at the Goodwill. Actually, the base came from Goodwill and I found the lampshade in the clearance section at Marshall’s. I married the two. The oval shade paired nicely with the round base. I immediately spray-painted the base silver (wish it had been more chrome like, but that’s another story). I bought an elegant final and called it a day. And that’s how it’s lived it’s life for the past five years.
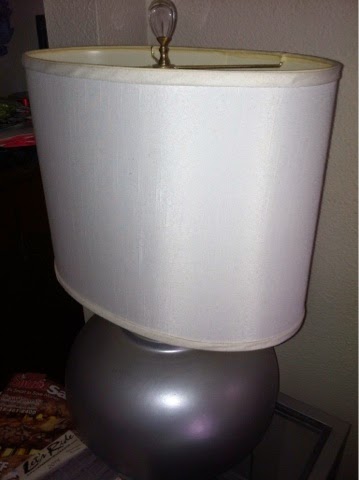
A Second Look
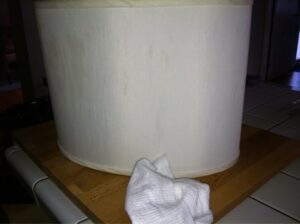
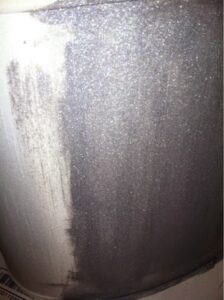
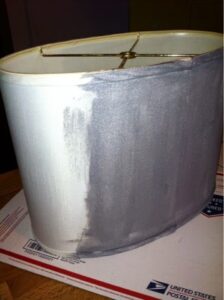
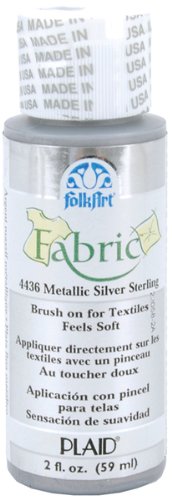 Somewhere I saw in a magazine a lamp shade that matched its base in color. I thought, well that’s easy enough I’ll just paint the lampshade silver. Now I probably could have used any silver metallic craft paint that I had laying around, but since the shade has a linen fabric texture, I researched and found a fabric paint in the shade of silver. I couldn’t find it at any of the local stores so I ordered it online.
ANOTHER OPTION: I wish I had seen this paint. It might have made the finish a little more uniform.
Prep & Paint
SHOP MY STYLE: Living Room
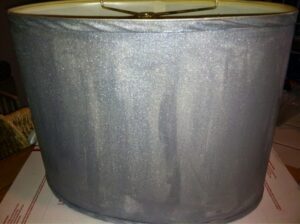
As you know, craft paint dries fairly quickly so I was able to let it dry in between the coats and still be finished within about 30 minutes.
Custom Coordinated Lamp

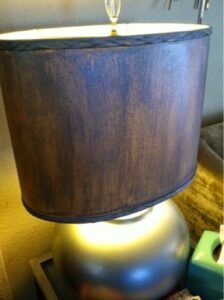
You could stop here if all you wanted was a painted custom lampshade tutorial. But as you can see the shade is less than opaque when the light is on. While this did allow for light to filter through the now painted custom lampshade, I was less than impressed by the visible paint stroke marks it also allowed.
The Silver Lining
So I thought well maybe I could make a liner for the inner part of the shade. If I did make said liner I knew I wanted to make a liner that had a metallic finish which would reflect the light bulb when the lamp was on. My first thought was to use a silver leafing product. But after picking one up at Michaels I noticed that the sizing (glue) was highly flammable. I didn’t want to take any chances with the lightbulb so close to the silver lead, so that idea got scrapped.
[raw_html_snippet id="michaels coupon - square"] |
After walking around the store looking for inspiration (BTW some of the best ideas are born this way) I finally settled on using a foiled card stock paper I found in the scrapbook paper section. Just my luck too! It was on sale for $.99 a sheet.
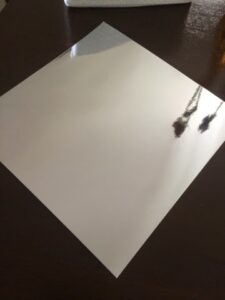
My thought was I could use some type of adhesive to adhere the paper to the inside of the shade. I picked up four sheets just to make sure I had enough to make it all around the shade and rushed home to finish my lampshade.
[raw_html_snippet id="cricut machine"] |
I pulled out the adhesive tape that I had picked up, did a dry fit on the lampshade and was just about to install it when the dangerous mind of a crafter took over.
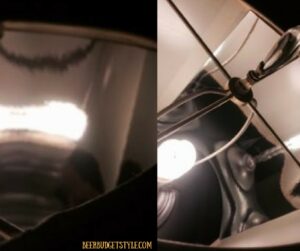
Getting the Details Just Right
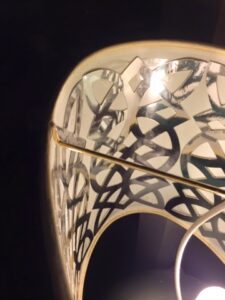
I thought I could install the paper and it would look just fine but what if I ran through my Cricut Machine? I mean what can I lose, a dollar? I answered my own question by choosing a frilly pattern I had on an existing cartridge (picturesque). Then I made a test pattern.
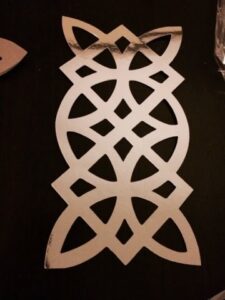
After screwing up one of the sheets, by using too small of a size of the pattern, I realized that an oversized image would work best. So I enlarged the image to fit about two to a page. I cut enough to fit all the way around the inside of the shade.
Here’s how I installed the liner patterns with the mounting tape.
The Grand Finale
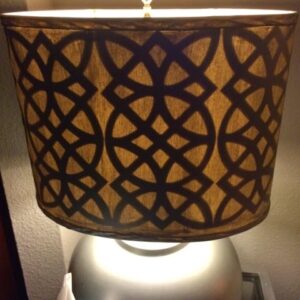
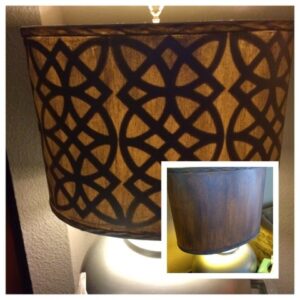
Now you don’t even notice the brushstrokes. Not bad for a few dollars right? The cool thing is now I know I can change the look of any lamp I have with just paper!
