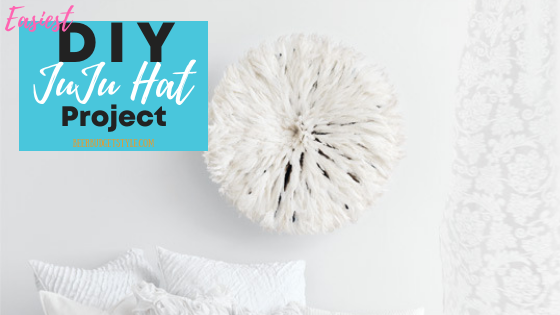
Have you ever seen a product that just spoke to you? You wanted it. Really wanted it, but … The price tag was out of orbit. Well today, I am finally taking on a DIY project that has been years in the making. As it turns out, it took me longer to complete this post than the project itself. Here is how I created my DIY Juju Hat. You won’t believe how easy it is to make!
My DIY Juju Hat
Do you ever have those moments when you say “Now why didn’t I think of that?” Well, I have them often and this time, thankfully, this one came before I had spent loads of money.
Like many people, I have lusted (not an overstatement) for a Cameron JuJu Hat ever since I saw so many designers using them as beautiful statement art pieces.
My Statement Piece
I have seen them in dining rooms, bedrooms & living rooms alike. They always make a statement. At $300 to $1000 a pop, they should make a statement.
Well while working on my Boudoir (Master Bedroom) Project I decided I needed a wreath of some kind to adorn the window area in my bedroom.
SIDE NOTE: Do you ever have a project that just lingers? Well, my master bedroom is just one of those projects. I’m embarrassed to say that I have been decorating and designing a redesigning that room for five years at least.
To be honest it’s almost complete there just some final touches that need to be placed. So I’m finally going to finish it up and tackle those missing pieces so I can call it done.
At first, I was planning to make a poster board sunburst mirror I also am in love with (maybe I’ll still do that in the living room), but recently I thought this was a perfect place for my long-desired JuJu Hat.
The Juju Hat
First up is a decorative piece that I have been wanting to do for a long time. It’s called a Juju Hat. And I know you’ve probably seen it and many people have done DIYs for the juju hat. Today is my turn to throw my hat in the ring with my juju hat DIY project.
Read about the history and origins of the Cameroonian Juju Hats here.
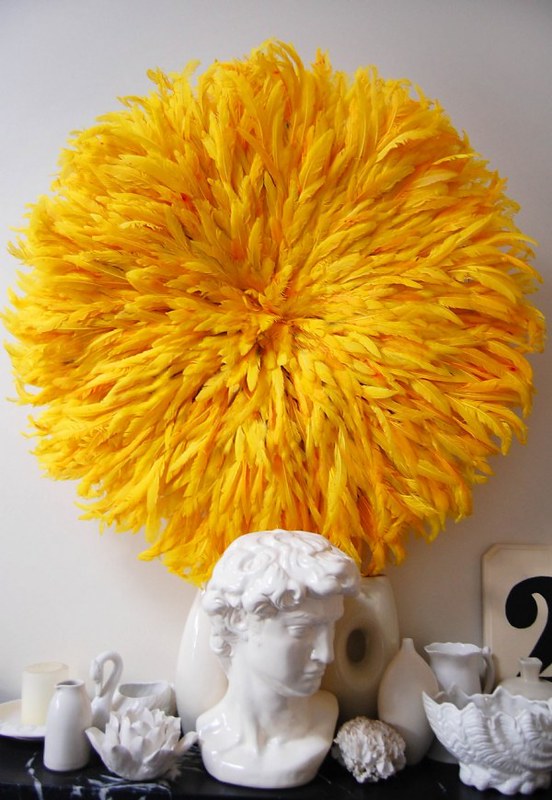
I have wanted one of these hats ever since they started showing up in just about every HGTV shows a several years ago. Yes, way back to the Candice Olsen days.
I fell in love and just had to have my own Juju hat. Even though they’re typically priced out of orbit, I became convinced this would be a stunning piece in our bedroom project.
After a few pins, I stumbled on this blog post. Then the lightbulb went on. I thought of course “I’ll just make it”.
In my research of authentic Cameroon Hats, I noted that the feathers are attached to a bowl-shaped straw looking base. The bowl compacts & expands to the stunning feather showpiece that is so desirable.
Creating the DIY Juju Hat
Just like the overall project, I have had the ingredients to make this project for a long time. I just haven’t found the time to put it all together. Which makes no sense when you see how quick and easy this project is.
Well no more!
Here’s how I finally created my Juju Hat.
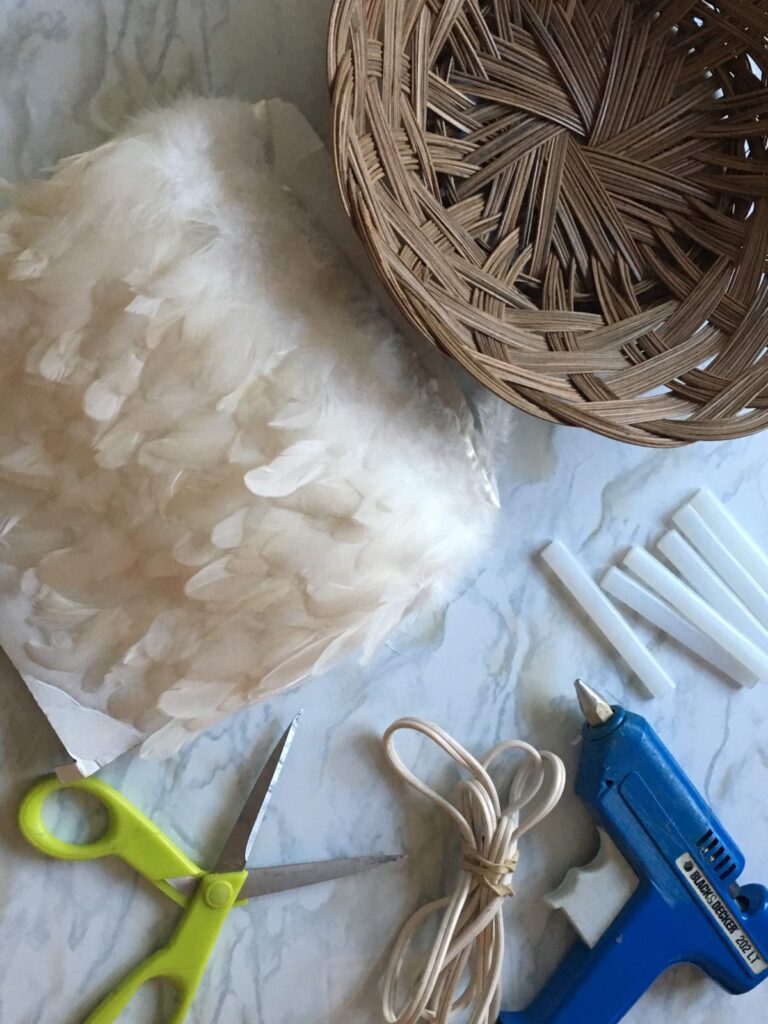
What you need:
- Paper plate wicker basket
- Hot glue gun and glue sticks
- Feathers
- Brown spray paint
- Wire
- Wirecutters
- Pliers
- Wreath hanger (optional)
The Perfect Base
Before we get started, let me just take a second to talk about the base for this project. As I said, in the authentic Cameroon Hats the feathers are attached to a bowl-shaped straw looking base.
Many of the other DIY Juju Hat projects I’d seen used either fabric or even a placemat as their base. But the original hats had saucer bases like these baskets.
I wanted my hat to look as authentic as possible. So I went on a search for the perfect base.
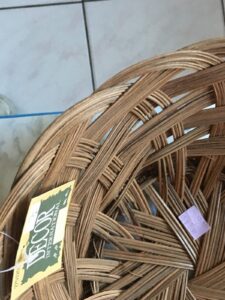
One day on my usual weekly trip to my Goodwill I noticed quite a few of these saucer-shaped baskets. I think they are paper plate holders. But I could be wrong.
Immediately I thought “This will stand in well as a base for my DIY Juju Hat.” It turns out, the basket was the perfect base for the hat.
Assembling the JuJu Hat
Ok. On to the assembly.
1. Prep the Base
Find a woven basket at the secondhand store for the base of the DIY Juju Hat. Wash the basket to ensure any dirt and oils are gone and it’s clean. Allow the basket to dry thoroughly.
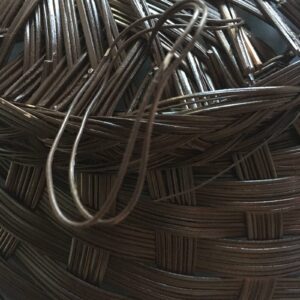
Cut a piece of wire approximately 18 inches, allow plenty of wire to double over and create a very secure hanger.
Feed the wire to the back of the basket. Double over the wire and insert it in the back of the basket securing it in the front.
TIP: Usually, this should be placed towards the top of the basket so that the weight doesn’t cause it to tip over later.
You’ll want to check the placement of the hanger to ensure that it hangs correctly. Once you have your correct placement use needle-nose pliers to twist the wire so that it is secure.
2. Paint the Basket
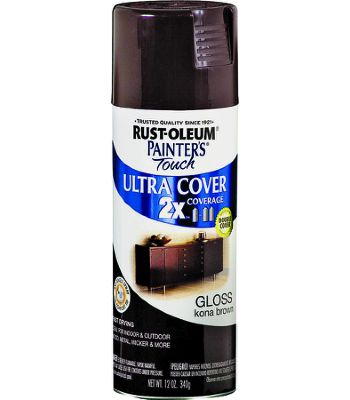
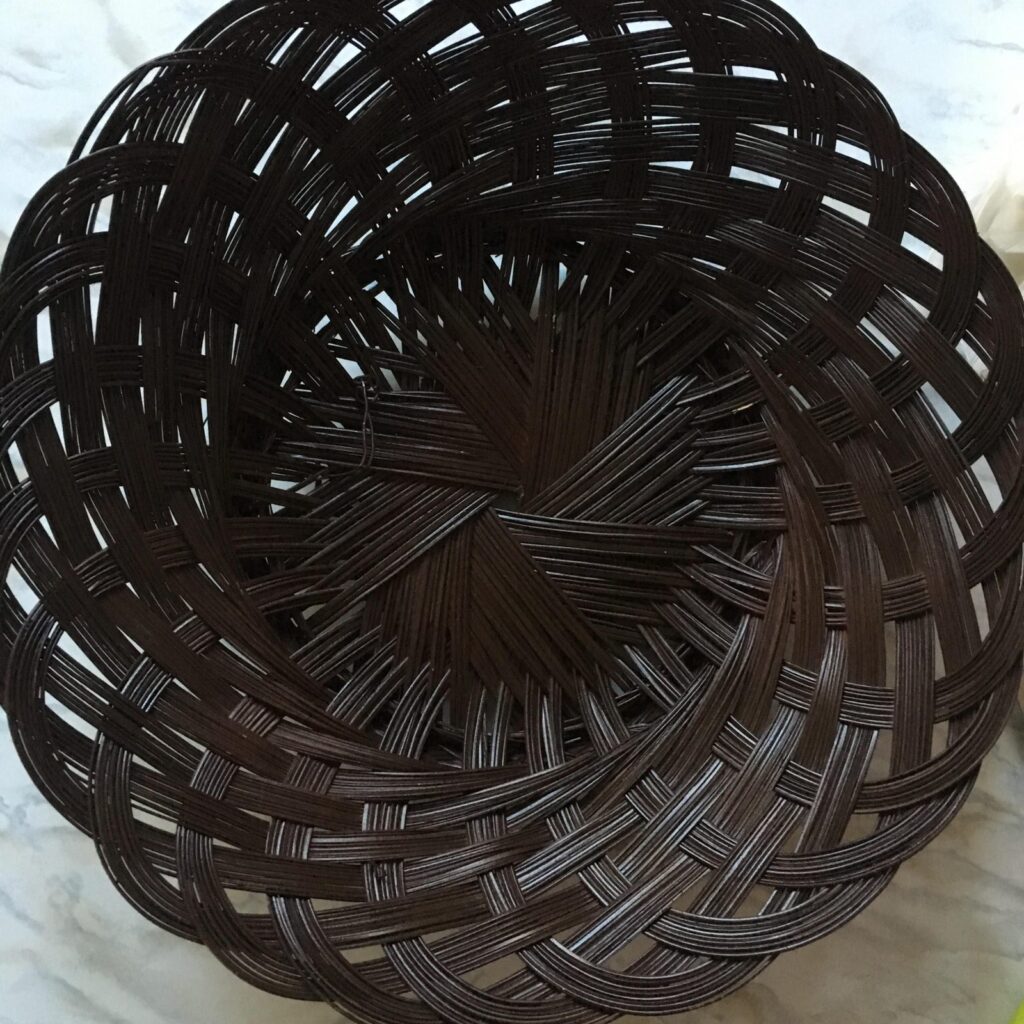
Spray paint the basket dark brown. I love to use the Rustoleum Painter’s Touch spray paints. This one in Kona Brown was perfect to create a dark base for the basket. But any dark brown or black spray paint would work.
Allow to dry for several hours or overnight.
3. Getting Feathered
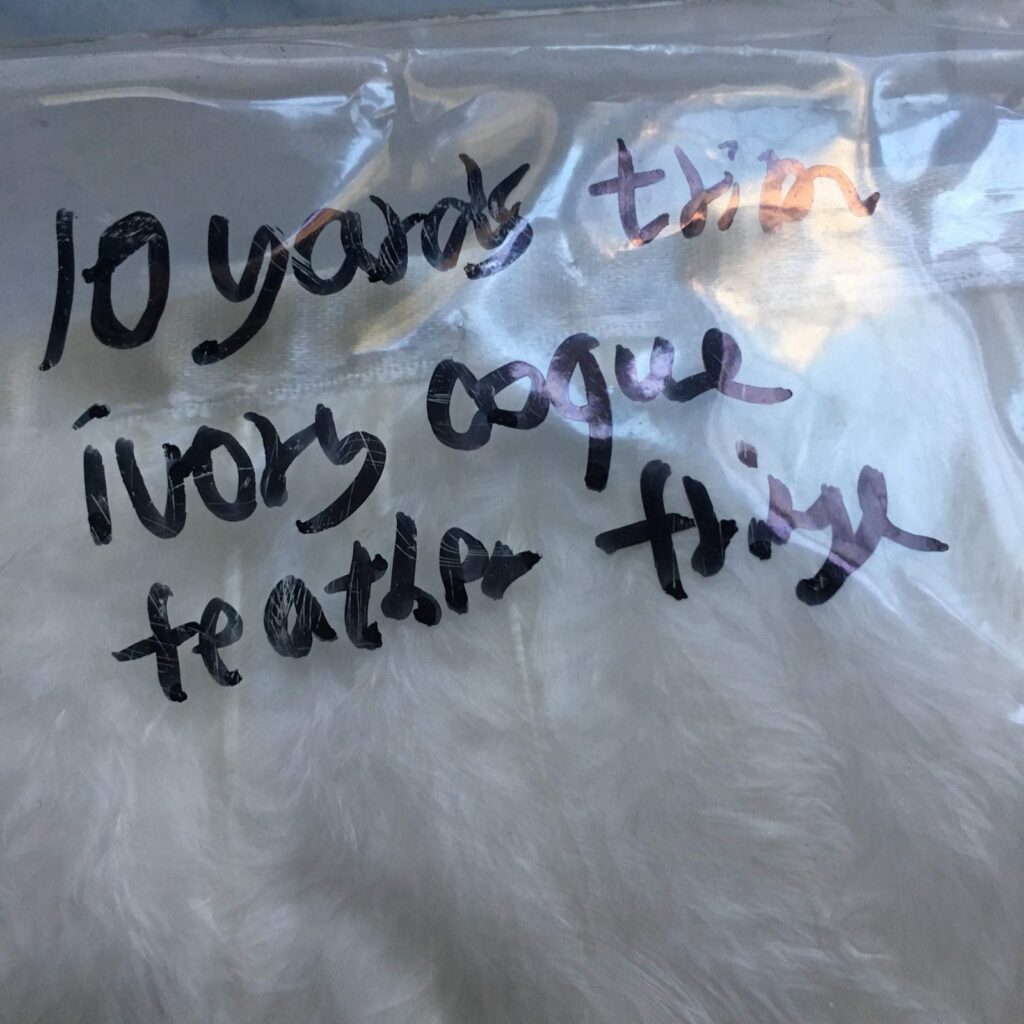
Following the lead of other JuJu hat tutorials, I got these Coque feathers because of the length of the feathers. These Coque feathers are 4-7″ in length and look more authentic than shorter feathers would look.
Like the basket, I think the Coque feathers give an authentic look to the Juju hat, but probably any long feather trim would work.
Yea! It’s finally time to attach the feathers.
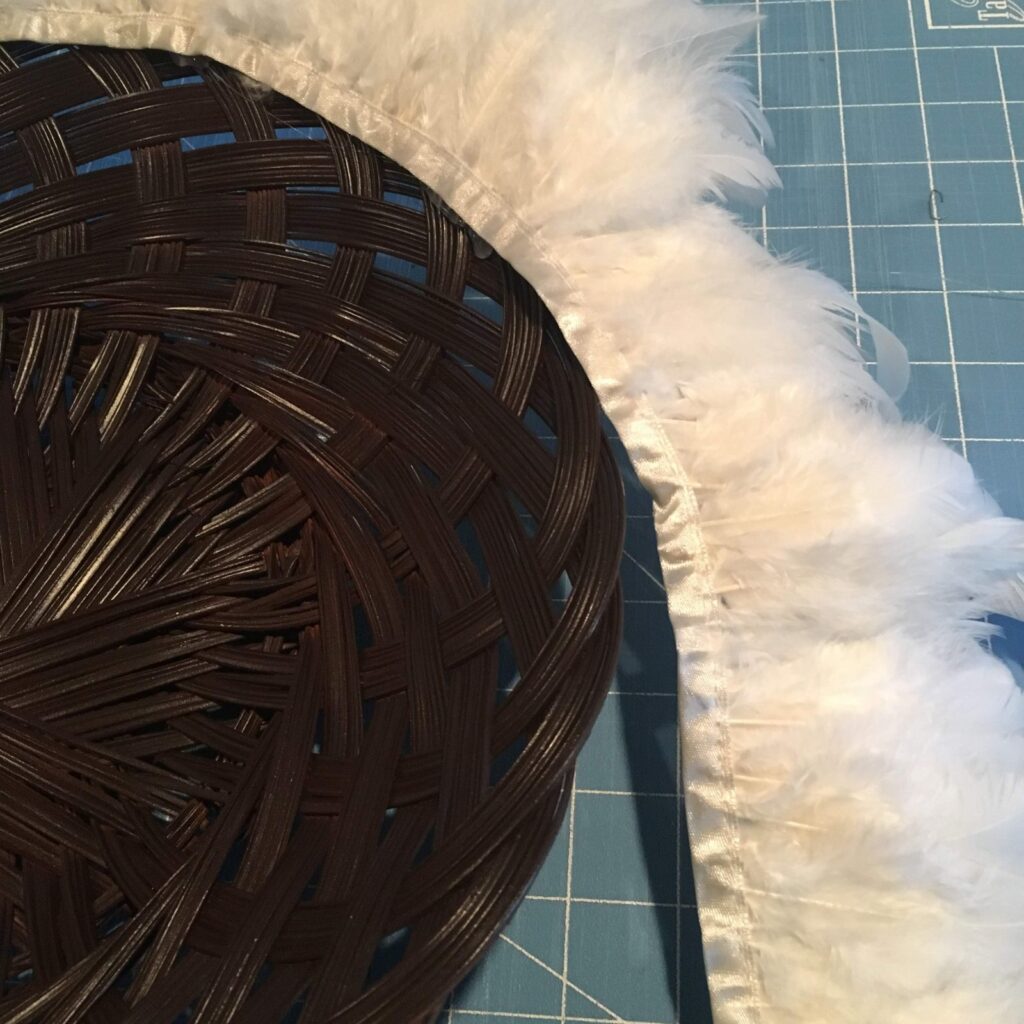
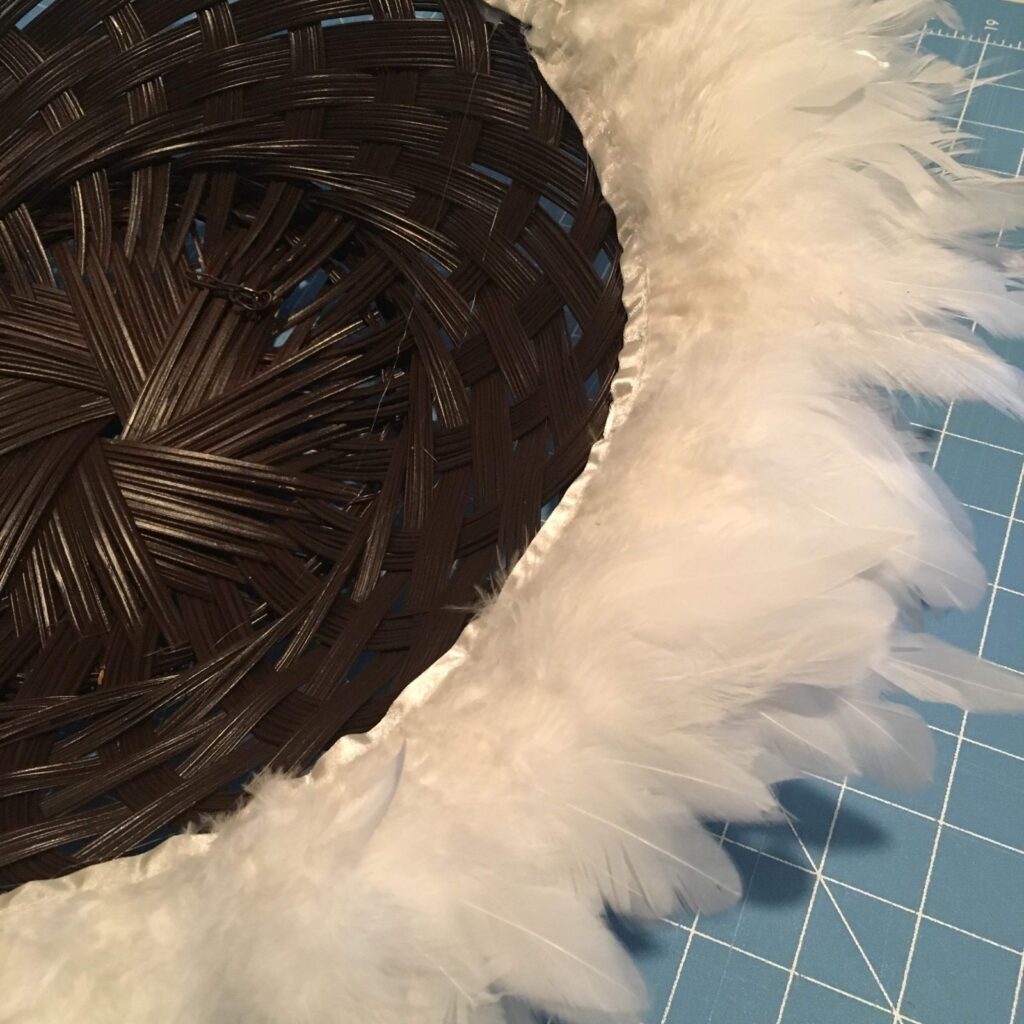
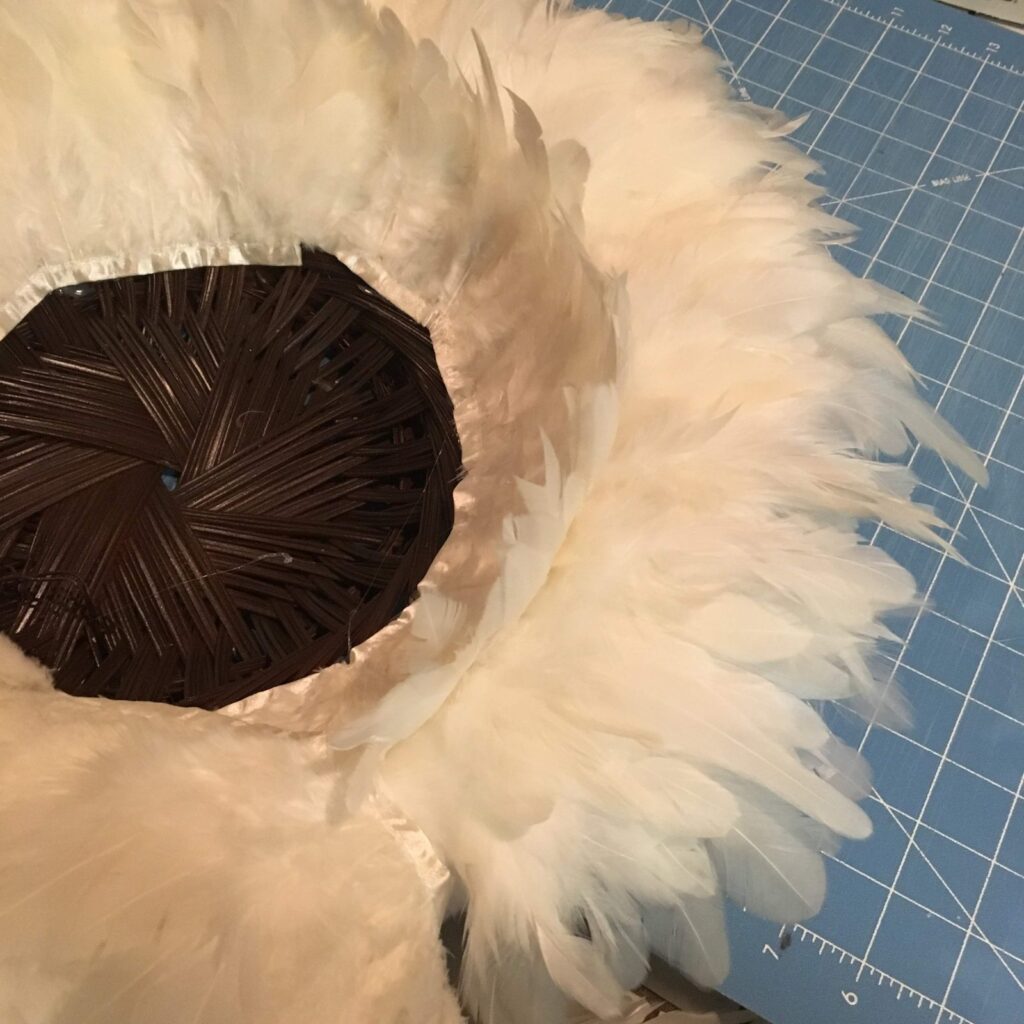
Using your hot glue gun, working inward, start attaching the feather trim from the outer edge of the basket. Make sure the feathers hang over toward the outside of the basket and not inward.
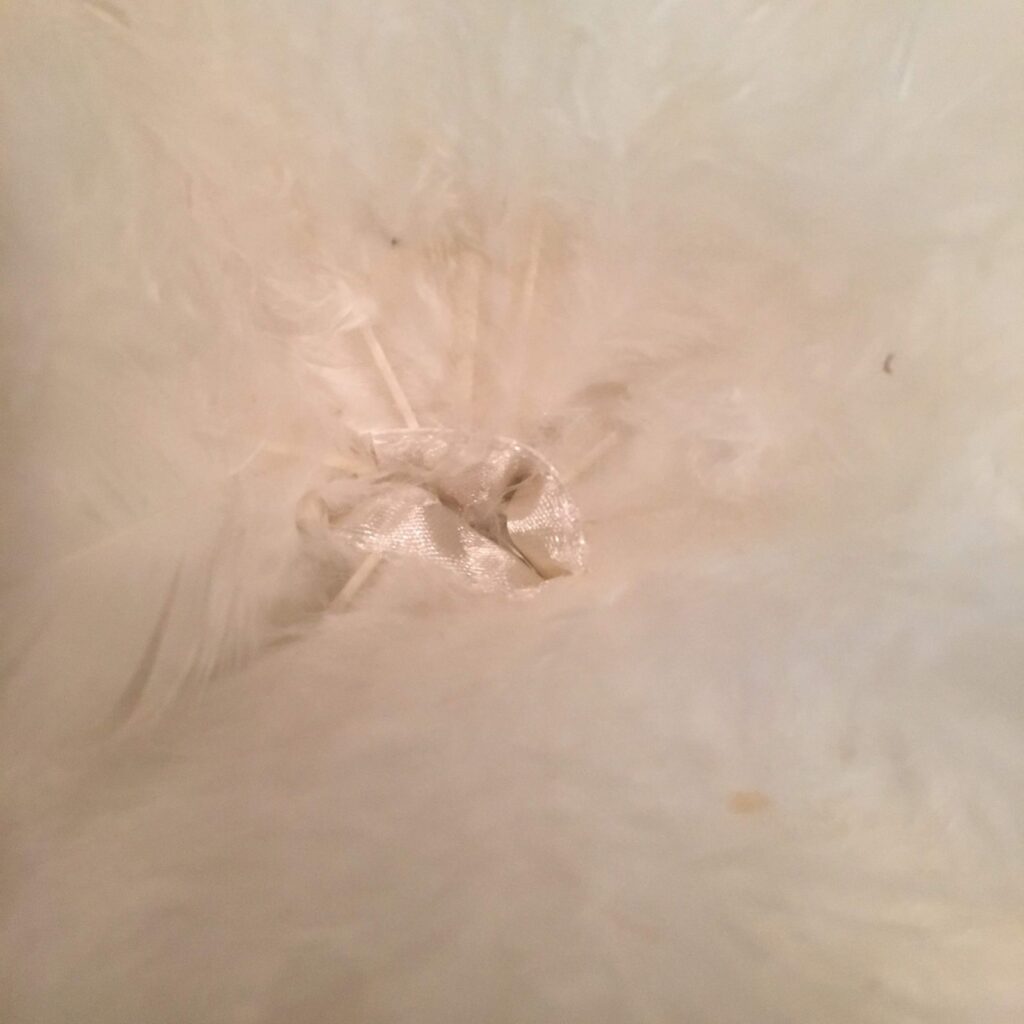
Continue around the basket until you reach the center. Use a few loose feathers to cover the center area so the trim doesn’t show. And, if you can believe it, you are done!
You just made a DIY Juju Hat!
My OOPS Moment
I wish I could tell you that I had no hiccups with this super easy project, but there was one.
I MESSED UP!
While I was gluing on the feather trim, I thought I should invert the direction of the feathers. What wound up happening was this created a cupping effect that I really didn’t like.
See how the inner rim of the feathers seems to cup? NO BUENO!
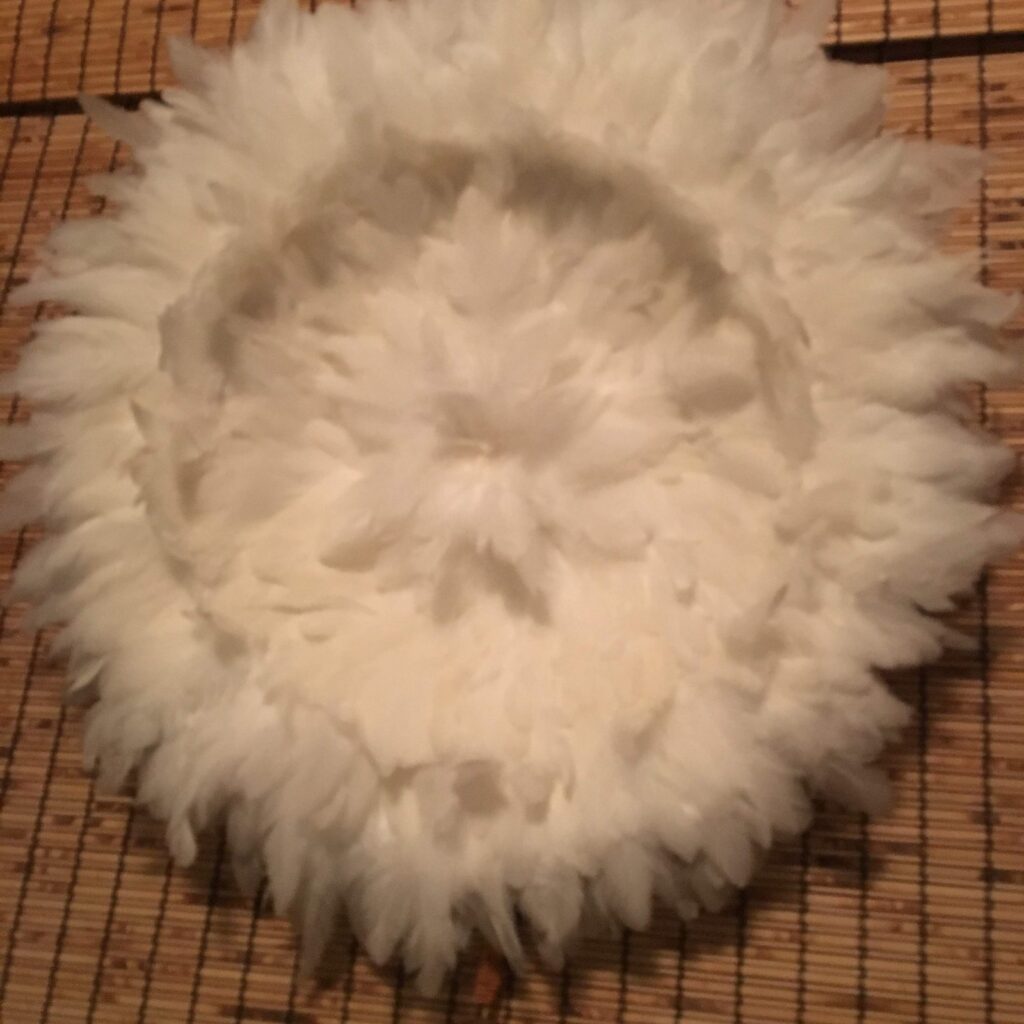
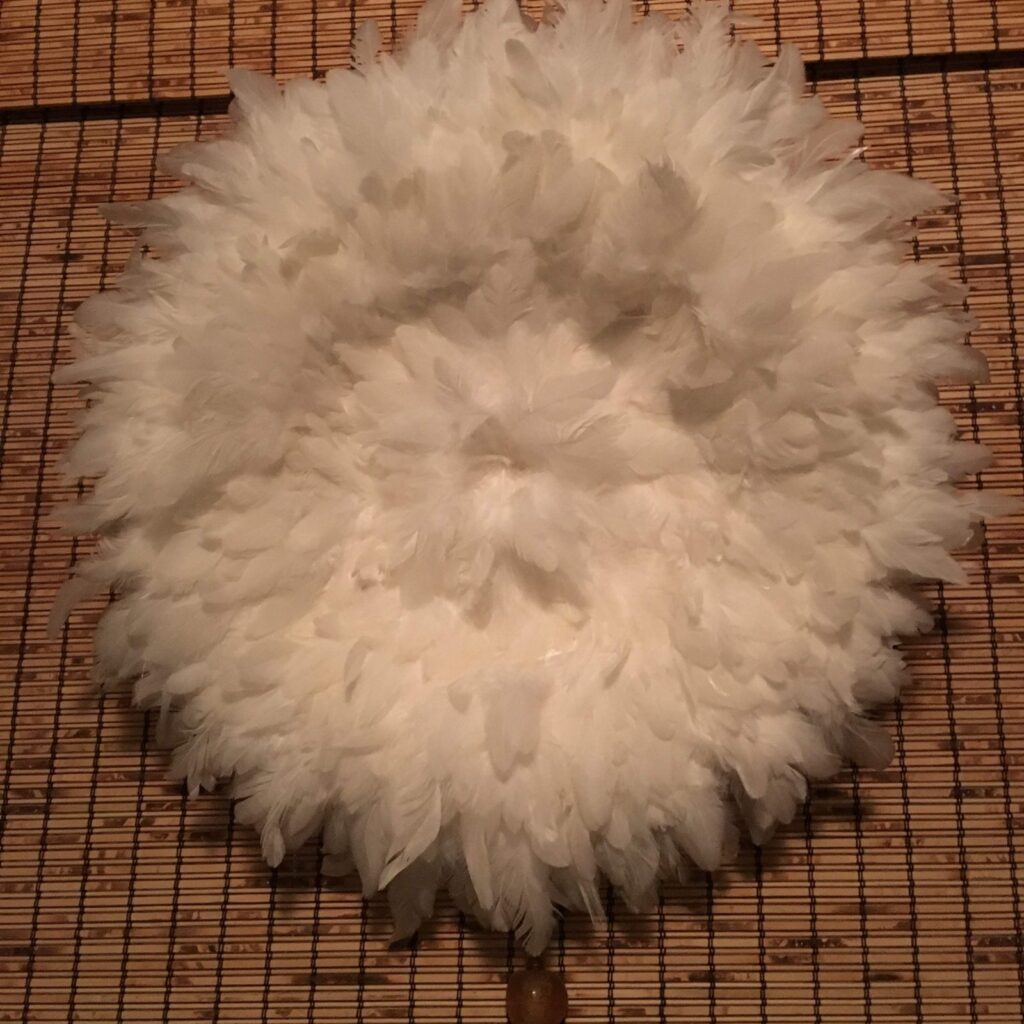
The good thing is I had purchased 10 yards of feather trim, so I had enough to simply go back over that one row of wrong way feathers reversing the direction of the feathers. Good thing too, because it would have been a nightmare to pull out a row of feathers.
The mess-up worked out for the best. In the end, this actually made the Juju hat look fuller.
Last thing – I used a clear wreath hanger to hang the JuJu Hat over the bamboo blinds in my bedroom.
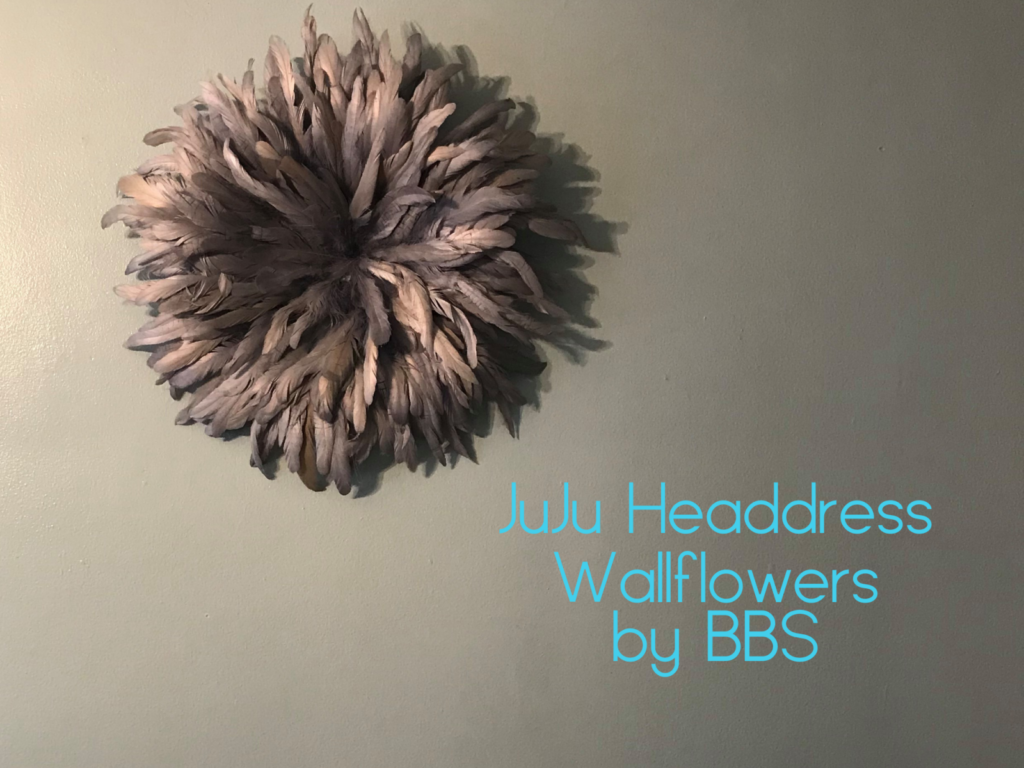
My DIY Juju Hat!
I’M IN LOVE!
I seriously am in love with the way this project came out! It was actually easier than I could have imagined (hiccup and all).
I recently showed off my Juju Hat to my girlfriend and she loved it so much she commissioned me to make one for her. SWEET!

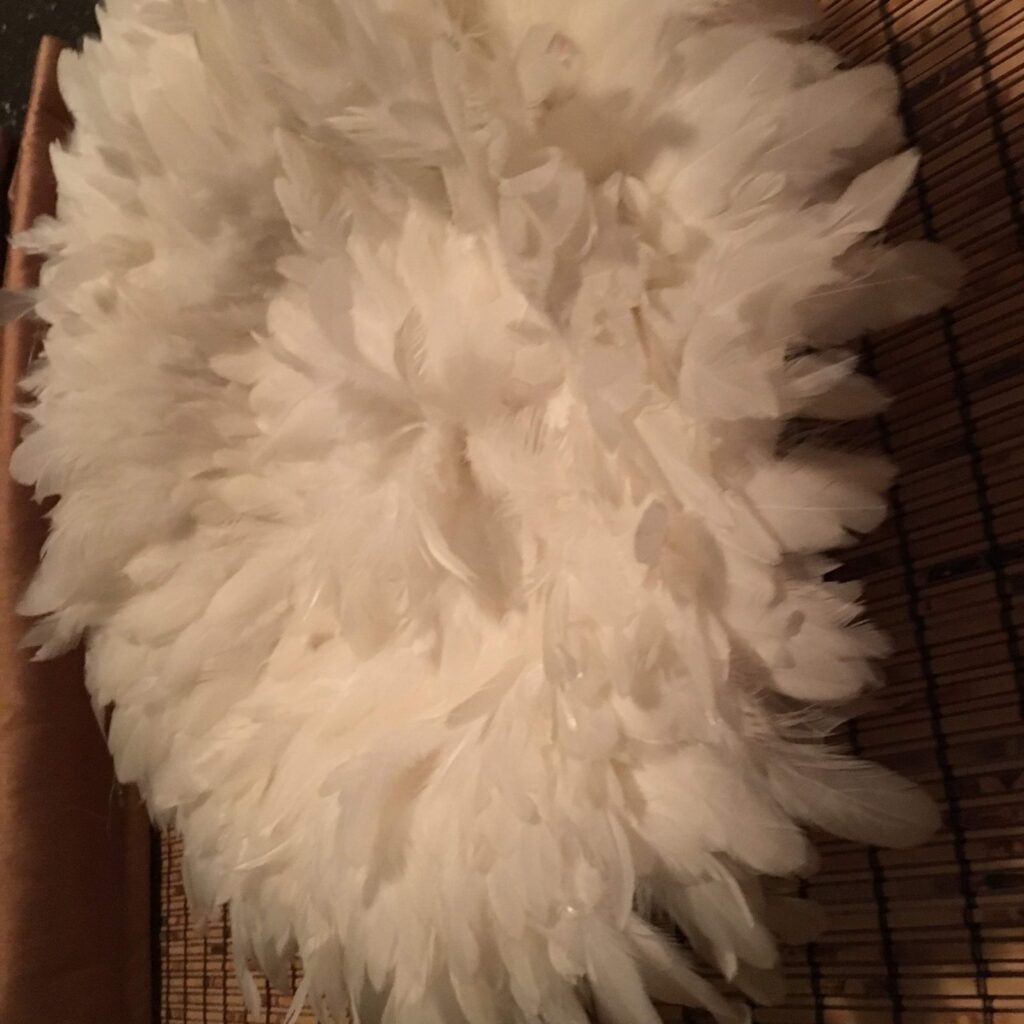
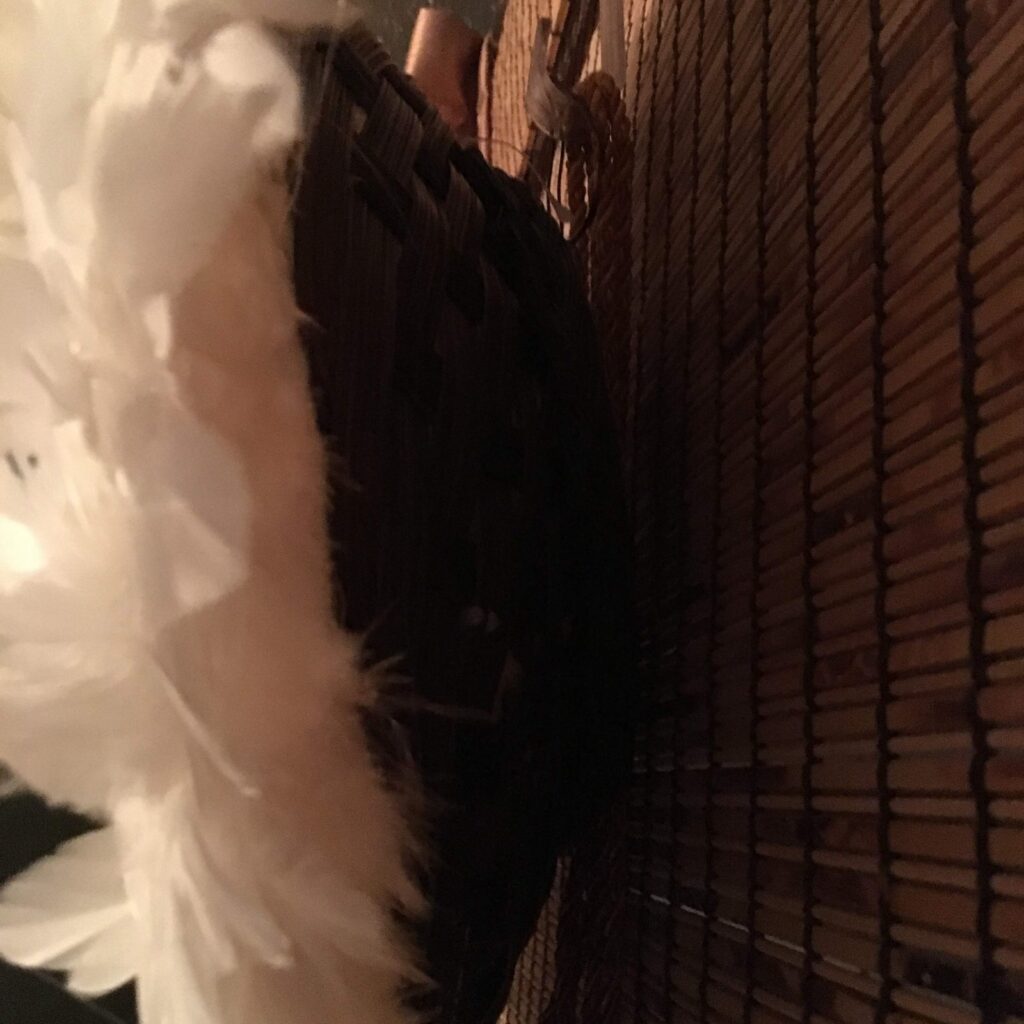
My hat is white, but since feathers come in such a wide variety you could make this project in any color or combination of colors.
Beer Budget Friendly
One of the best parts about his project, other than it being so SUPER EASY, is that it’s also super budget-friendly too.
All in, it cost me under $50! That’s a fraction of what an authentic Juju Hat would be. And I finally have my Cameroon Juju Hat.
I think this is one of the easiest DIY JuJu Hat projects out there. If I do say so myself!
So if you’ve always wanted one of these beautiful and decorative hats now you can create one in an afternoon.
Keep Designing –


