Don’t you just love it when a project comes together? I sure do! And so it was with my recent project. I am currently helping my son to design his newish apartment. This is one of the easiest projects I’ve ever done. Check out how I paired two thrift store finds and how to create an easy custom lampshade – in minutes.
Tisk, Task
Being a guy, I don’t think my son realized the need for more than just overhead lighting. In fact, task lighting can be helpful in just about every room of the house.
Well, I realized that he could use a bedside light and so I went on the hunt for one that would work.
Since his apartment is small, just about all of the pieces in my son’s redesign need to be either double-duty or space-saving. Which is why I felt that a wall-mounted light would be the best option for his bedroom.
And guess what?
I found not just one but two options that would fit the bill.
The Options
Option #1
The first option was a light I picked up at big blue (IKEA) on a recent trip. It was a silver wall mounted light. I loved this option because it has a clean look and its compact.
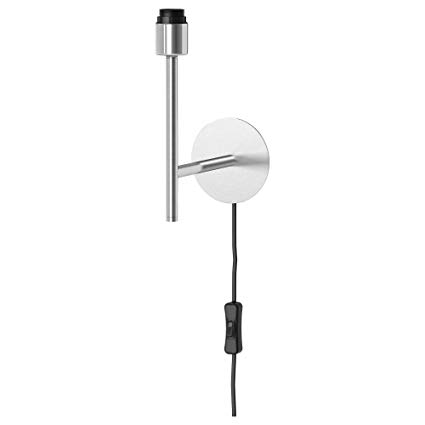
The brushed nickel plating gives it a really modern look. It’s compact and even though I would need to get a lampshade separately, this definitely was a great option.
TIP: Always check out the AS-IS section!
Oh, and did I mention that it was in the AS-IS section for $3.90, which I’m guessing is a huge discount from the regular price. I say “guessing” because unfortunately, it seems that this lamp is no longer available. Probably why it was priced so low and in the AS-IS section.
So if you want this lamp, head over to IKEA asap, or try Amazon or eBay for current buying options.
So that was lamp number 1.
Option #2
Lamp number 2 is also a great option and a tremendous bargain. I found it thrifting at the Goodwill. Checking out the lighting section I looked down and found this lamp.

Not sure what the original source is so I can’t give a price comparison, but this lamp was giving me Restoration Hardware or Pottery Barn vibes so I would say it was one of their products.
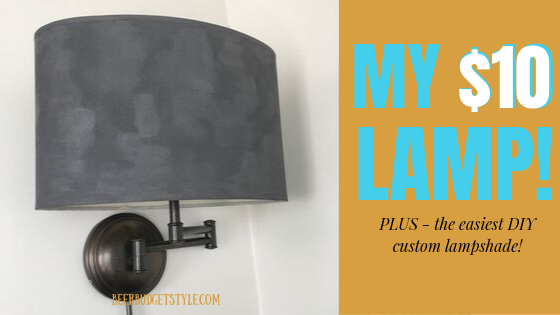
This too is a wall-mounted light, but this lamp had a swing arm making it a little more versatile than the first lamp. The finish has a brushed bronze look and there was a matching cord cover.
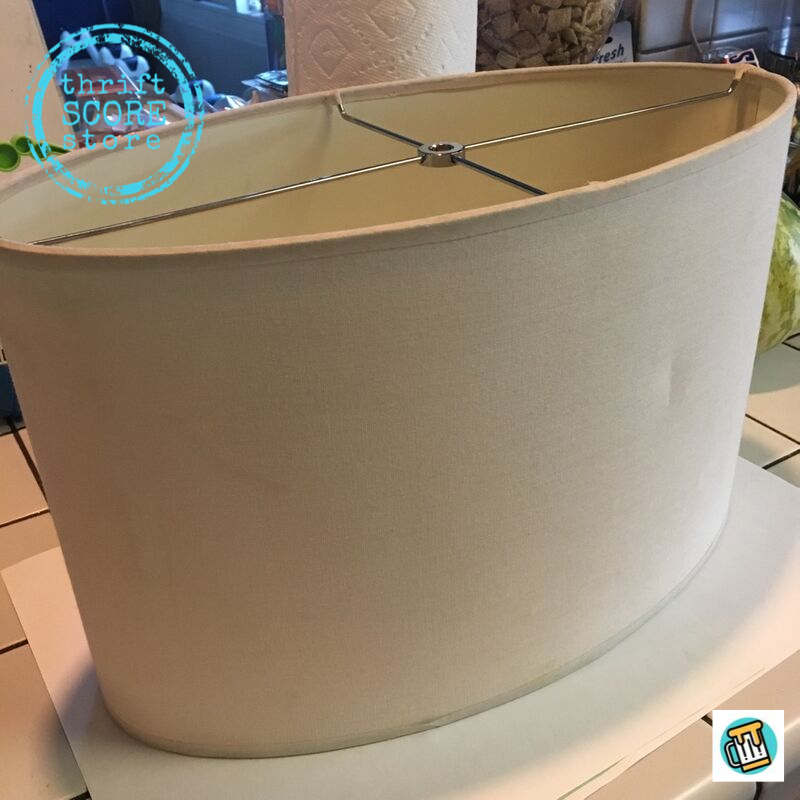
Even though the lamp came with a shade, I was able to find this chic oval-shaped shade nearby in the same section of the store. I thought it was a better option and knew it would look so good (once I customized it) with light #2.
At that moment, I knew which light was my choice. Yep! You guessed it. The second light was the one.
Easy DIY Custom Lampshade
Now that I had both my light and lampshade chosen, you know what I thought rite?
“Why not customize it?”
After all the other lampshade projects I’ve done in the past, I knew it would be easy to give this light a custom look, by just updating the look of the lampshade. And knew I could create an easy DIY Custom Lampshade simply with paint.
Yes! Paint.
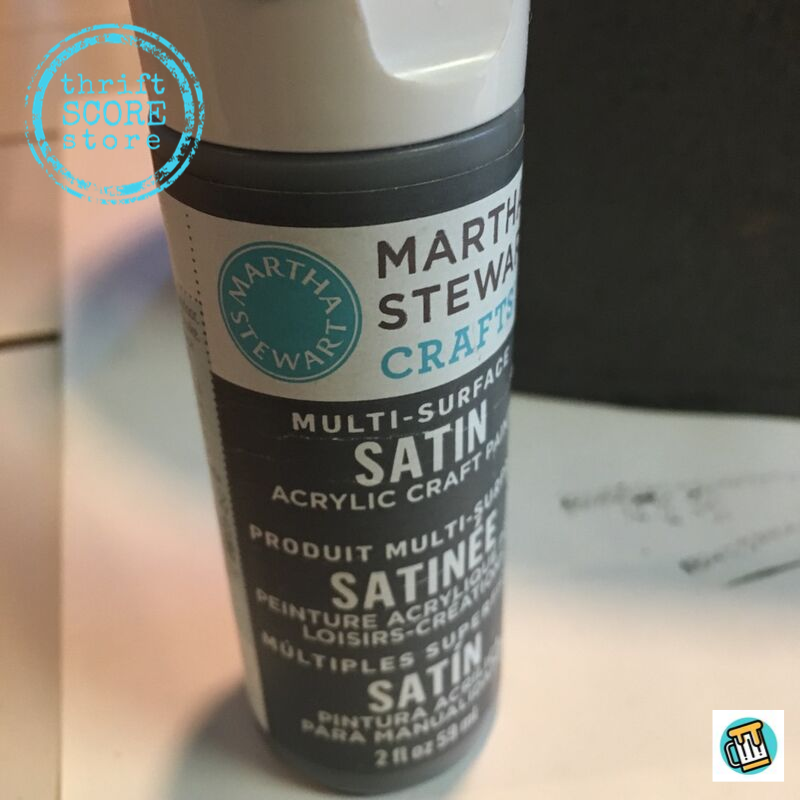
As a matter of fact, craft paint that I had lying around in my paint stash. I love when that happens. You can pick up some at Micheals.

I actually don’t remember why I bought this paint, but I had almost a full bottle so I figured it would be the new color of the lampshade. Paint would make this easy DIY custom lampshade even easier!
TIP: Paint is a great way to freshen up an old lampshade.
These paints by Martha Stewart are suitable for multiple surfaces. So even though the shade was fabric, I knew it would work.
After using a damp cloth to wipe down the lampshade, I used a medium-sized foam brush to apply the paint.
It did take several touchups to cover any of the old shade color peeking through, but eventually, I got it to be opaque.
Good thing too! I was running out of paint. LOL
[raw_html_snippet id=”michaels coupon – square”]
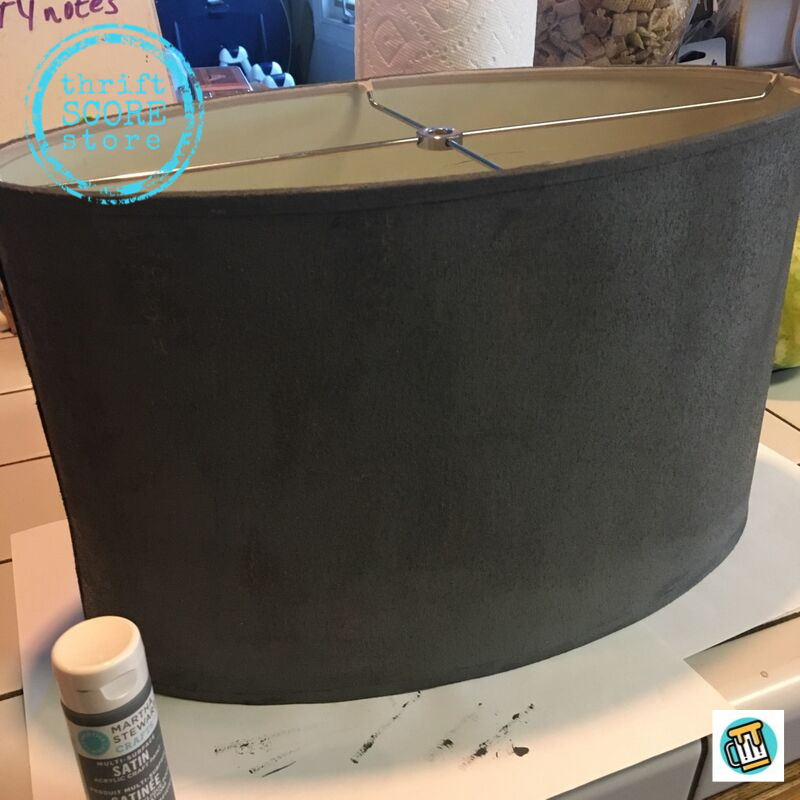
NOTE: I made sure to make uneven, cross-hatch paint strokes when applying the paint. In the end, this gave the shade appearance of suede fabric.
And that’s it!
No three-step process here. All you need is a little paint to create an easy DIY custom lampshade.
Ta-Da! Easy DIY Custom Lampshade
This is how the light looked after I installed it in the bedroom.
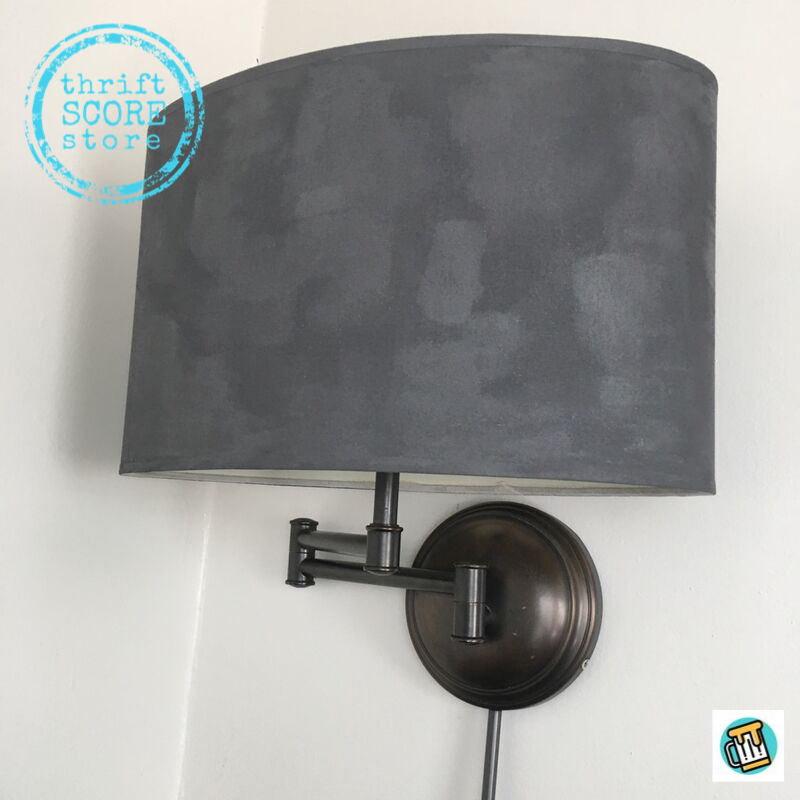
I LOVE IT! And more importantly, so does my son. Full disclosure I think the total for this transformation was actually $10.49.
Not bad rite?!
This is probably one of the easiest DIY Custom Lampshade projects that I’ve done. Now all I have to do is return option #1 to IKEA. Pray, I get out of IKEA with my wallet intact! LOL
Keep Designing


