In my recent Foyer Refresh Project, I needed an inexpensive solution for updating an older Ikea piece. Here, I will show you how I created a budget-friendly table topper by painting plexiglass.
How To Rehab An Old Ikea Piece
In my entryway, the only piece of furniture is an old Ikea dresser that we use as a credenza. At almost 60″, it makes a perfect place for us to drop our keys and sort through the mail. The only thing is it’s starting to look like an old Ikea piece of furniture.
As part of my recent decluttered entryway project, I needed to find a solution that not only saved my beloved piece but gave it some budget-friendly updating too.
In this project, I’ll show you how I transformed this old dresser into a custom-looking piece. This is one of my favorite projects!
Check out the complete Foyer Rehab Project here.
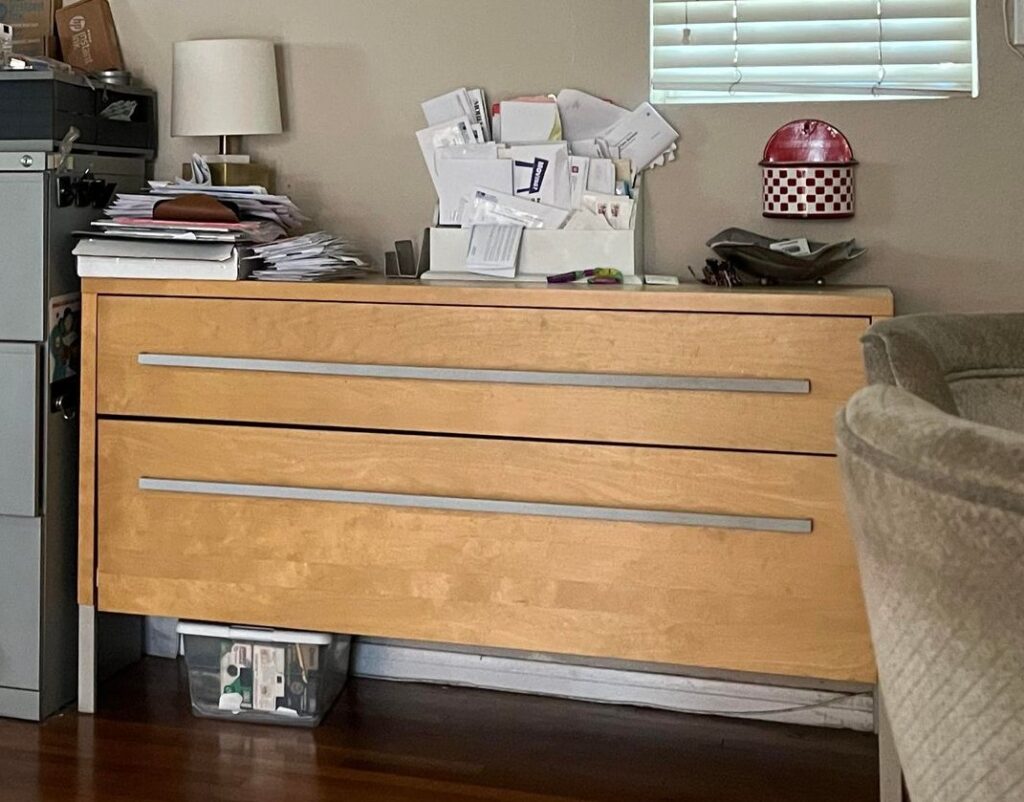
Before shot
I Wanted To Save It!
This long dresser piece has always looked like a credenza to me. And since that’s why I purchased it, it has always lived in our entryway. But sadly, it has started to show its age.
Click here to get a dose of budget-friendly design inspiration sent directly to your inbox.
When I decided to redo my foyer, I knew I wanted to save the piece, but I needed a way to cover the years of wear. The easy fix was a topper.
Topping My Table

This is my credenza before. As I said, it’s actually an older dresser that I got from Ikea years ago. We never used it as a dresser though. I still love it, but I wanted to clean & spice it up as a part of my decluttered entryway project. And since the top has seen better days, I thought topping it would do the trick.
It was forever ago, but I remember seeing someone on HGTV do a back-painted glass project. They used a bright color like yellow. So naturally, I thought about recreating the look on my table.
My first thought was to check in at Ikea to find a glass topper that I could use. No luck! It seems they not only don’t carry this piece anymore, but they also must not have any piece with the same dimensions. Because all the glass toppers they had were either too small or too large.
DESIGN TIP: If available, buy a glass topper for Ikea pieces. It will help them look better longer.
– Beer Budget Style
Time to get creative!
Am I Goldilocks?
First I considered going a different way and tried to find a ready mirror that might fit. You know I love my mirrors! No luck again! They were either too big or too small. At this point, I was starting to feel like Goldilocks.
Then I called my go-to local plexiglass dealer, but his quote came in between $150-$180. Not exactly budget-friendly.
Determined to get the look for less, I started scouring the local buy apps. I found a mirror piece that was close to the right dimensions but was an hour’s drive away. So I kept looking.
Then I found a listing from 2 years ago (I told you I was determined) on Offer-Up for some plexiglass remnant pieces. And finally some luck! They had a piece that was the right width, but too long.
After negotiating a bit, I was able to get them to cut it for me and within a day I had scored a custom table topper for a much more reasonable $35. Now for the color.
Keep Designing –
- DESIGNER DETAILS: DIY Mirrored Glass Tabletop
- How To Find Ikea Furniture On The Cheap
- How To Find Chic Decor CHEAP!
Painting Plexiglass
After doing some research, I found this post for someone who had created a back-painting backsplash using plexiglass. I noted the paint that they used and found it at Home Depot. This was the info I was looking for so I could be sure the paint adhered to the plexi.
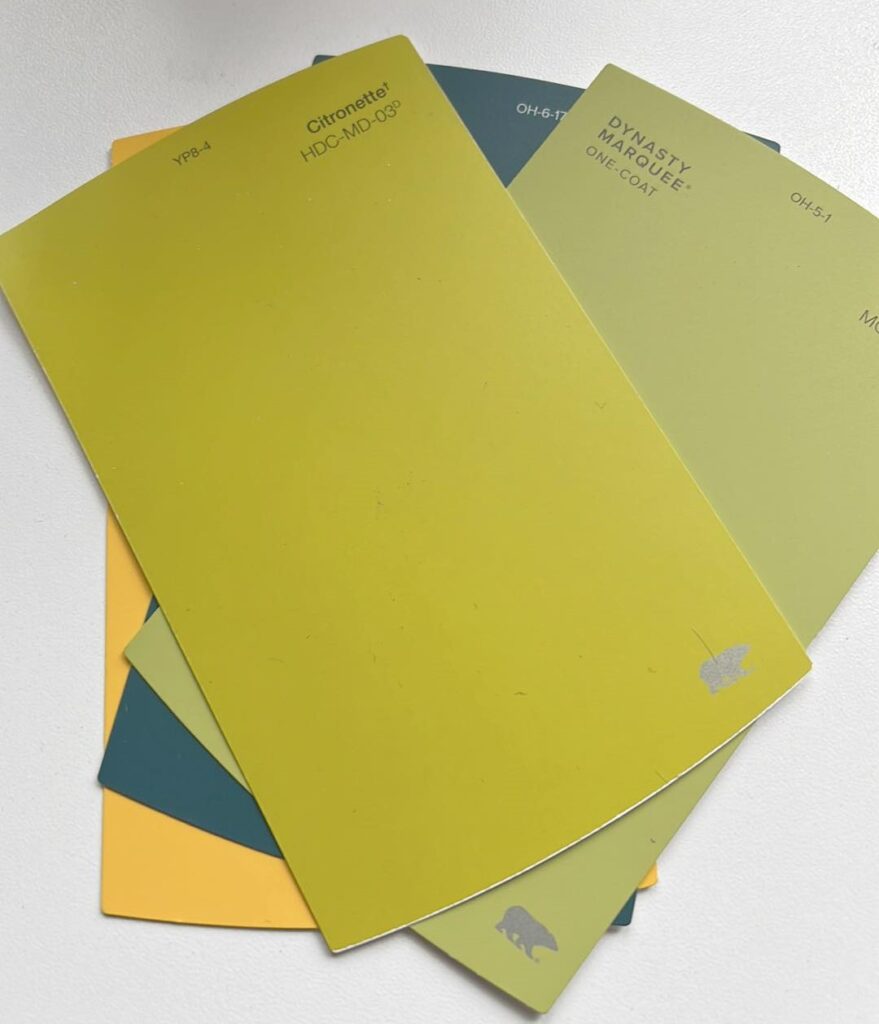
Not wanting to take a chance on the wrong color, I headed over to Home Depot (my second home) and picked up quite a few paint chips as options.
DESIGN TIP: Most paint companies offer sample size amounts that can be more than enough for a small project like this.
– Beer Budget Style
Back at home, I placed the chips underneath the plexi to get a feel for the final look. I finally settled on this lovely bright color.
The stage was set! Let’s finish it off.
Click here to get a dose of budget-friendly design inspiration sent directly to your inbox.
The Right Paint
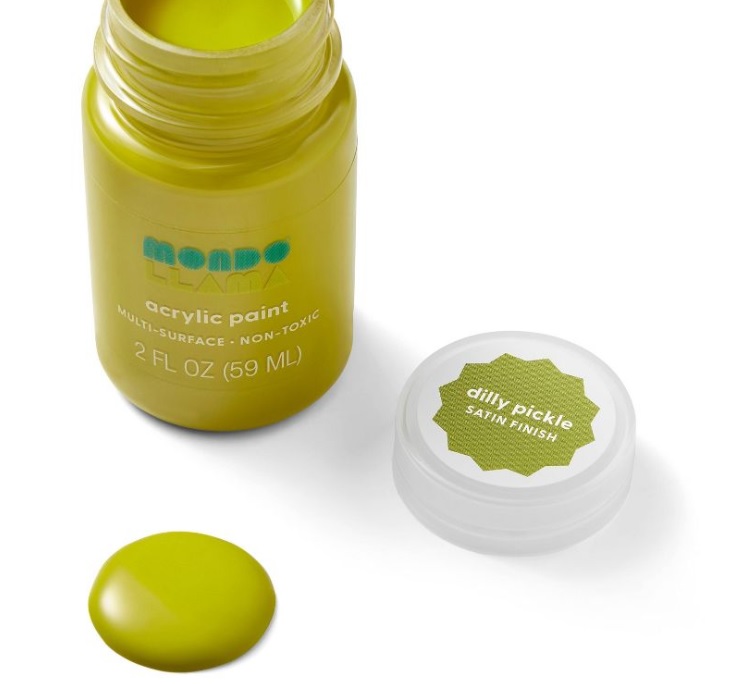
I was all set to head back to the hardware store to buy the paint, but I knew even a sample size would be way more than I needed. Then I happened to notice these paints at Target.
They come in 2oz bottles and the color “Dilly Pickle” was the exact match for the color paint I wanted to use. I got 4 bottles but only used 3 to apply 3 coats to one side of the plexiglass. I used a sponge roller to apply each coat and waited at least an hour between coats.
NOTE: Since I didn’t use the recommended paint, before painting, I tested a small part of the plexi to make sure it adhered well. After it dried I tried to scratch the paint off, but it adhered well so I didn’t even have to sand the plexi before putting on the final coats.
I have to say this paint covered beautifully and after 3 coats the finish was pretty opaque.
The paint said you could oven-bake on the paint for certain surfaces. Seeing that let me know it was heat-safe so I put the plexiglass outside in the hot California Summer heat (102 degrees) to try to cure it faster (mainly because I couldn’t wait to see the final look). Then I peeled off the other protective paper and installed the plexi on my credenza.
This is the perfect paint for painting plexiglass.
The Final Look
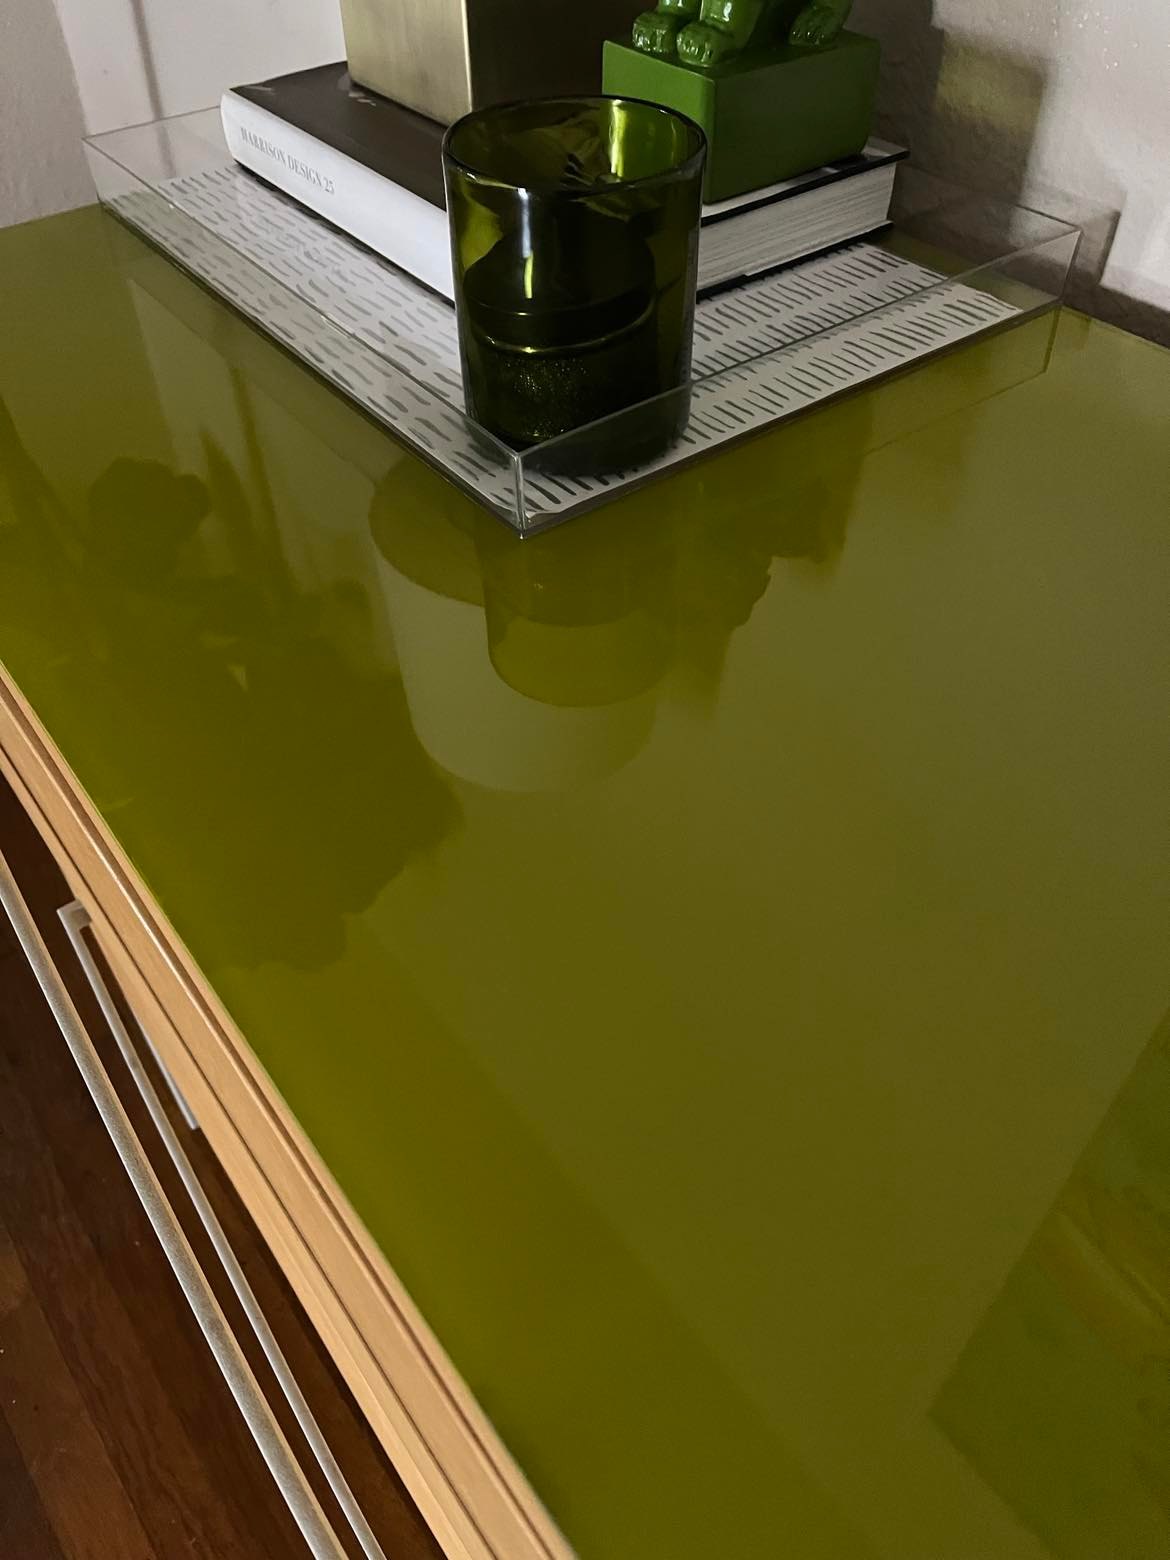
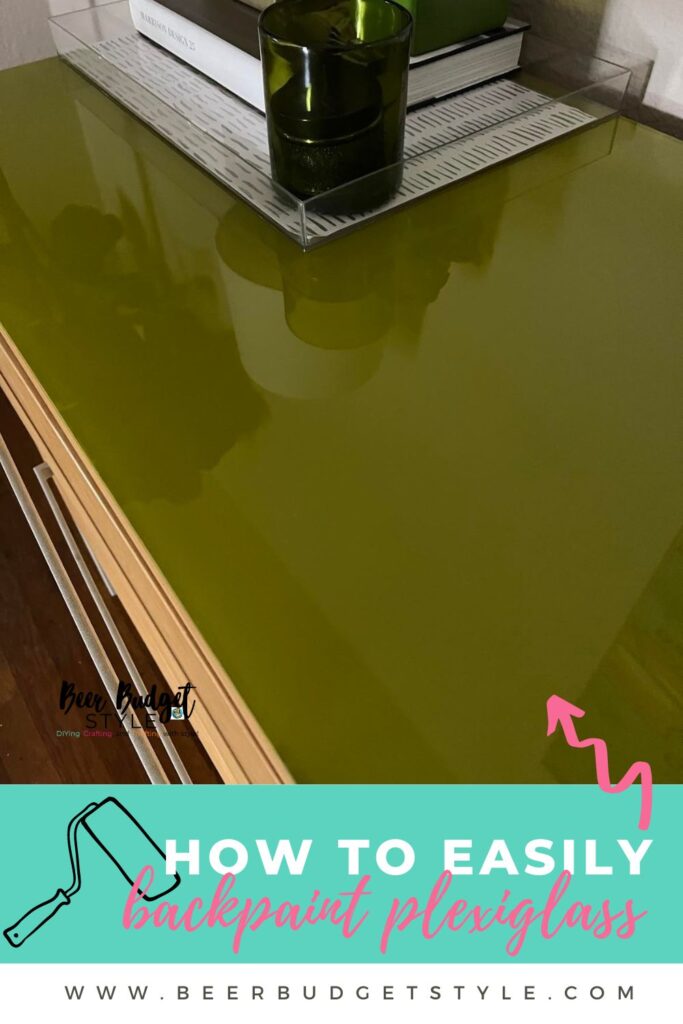
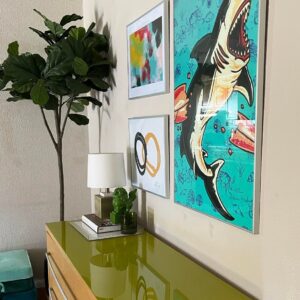
I AM IN LOVE with the way this came out! It looks just like the painted glass project I saw all those years ago. Seriously, doesn’t it look like I purchased it like this?
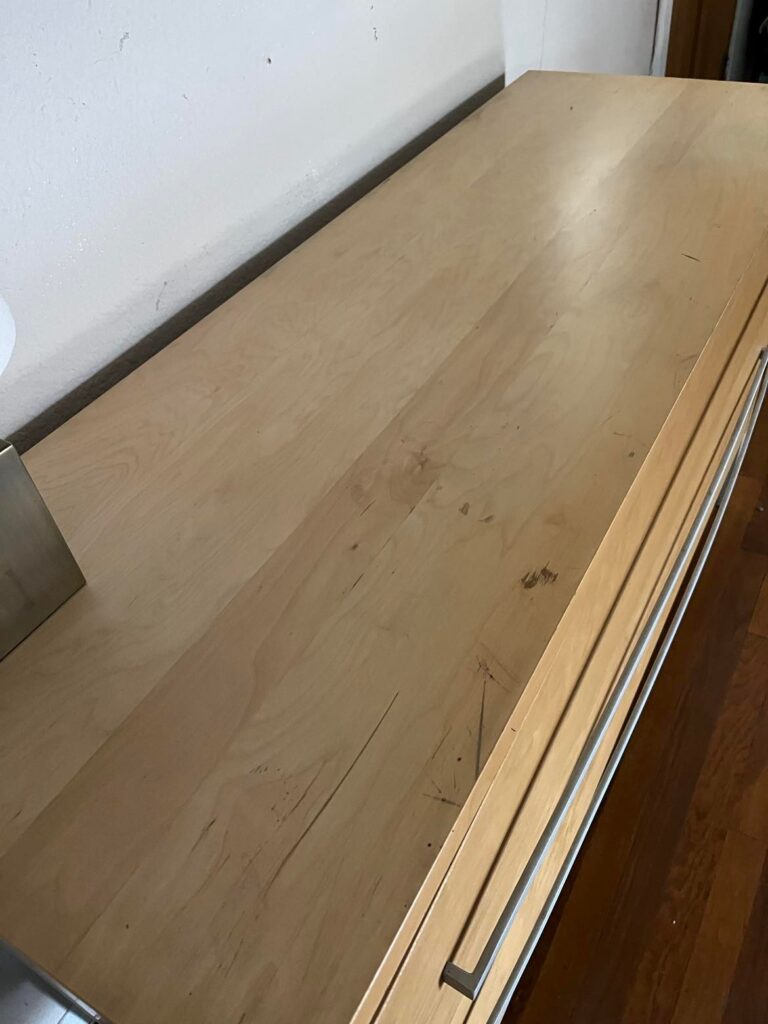
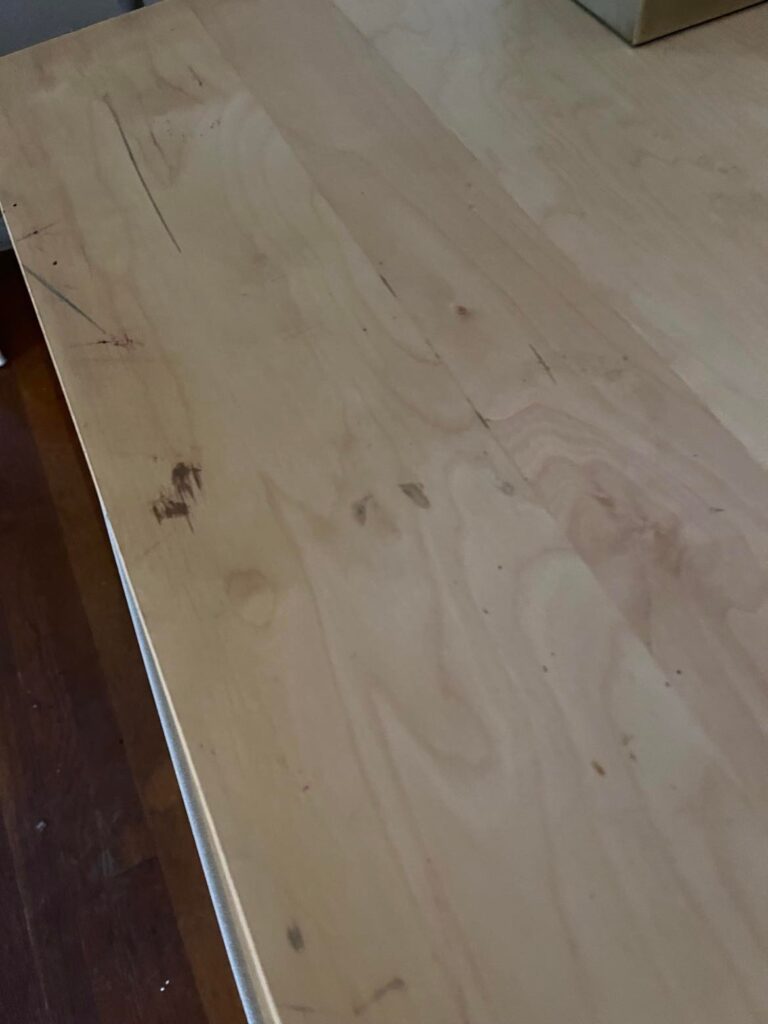
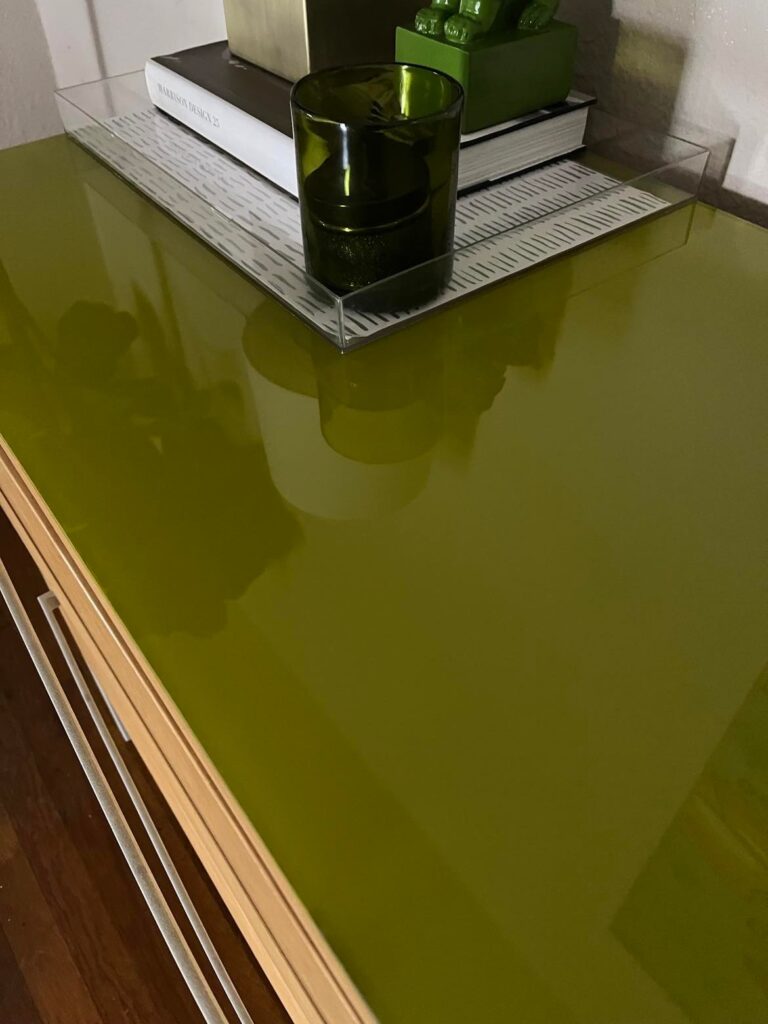
And the best part? You can’t even see the scuffed-up top of the credenza anymore. It really does give this piece new life. I always marvel at what a little bit of paint will do.
This project came in under $50 ($35-Plexi, $5.25-paint) way less than the plexiglass quote I got. Not bad for a custom piece right? And it only took an afternoon!
Painting Plexiglass
Click here and get on the waitlist for The Digital Artwork Course
Keep Designing –
Click here to get a dose of budget-friendly design inspiration sent directly to your inbox.
Painting Plexiglass Table Topper
This turned out to be one of my favorite projects ever. Mainly because it was so easy and the results were so good.
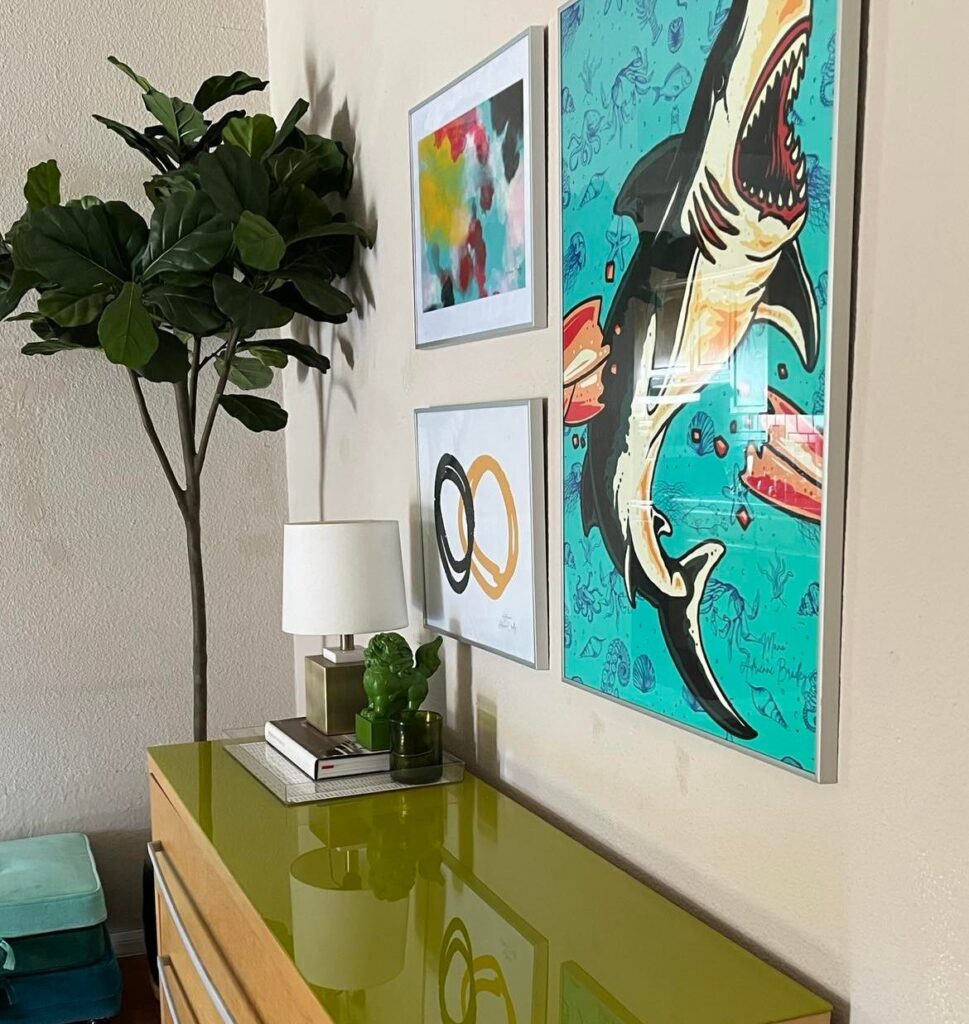
The After!
You can get these art prints here.
This project has me looking for more pieces around the house that I can cover with painted plexiglass too.

