The idea hit me while thinking about an upcoming housewarming party for a friend and her boyfriend. It’s one of those “white elephant” themed gatherings, and you know the kind: gifts that make people laugh, scratch their heads, or whisper, “Wait… what?” So naturally, I started brainstorming something that’s equal parts classy and totally unexpected—and this project was born: a custom cocktail/coffee table book made from a thrifted treasure.
DIY Cocktail & Coffee Table Book: Give a Thrifted Book a Totally New Life
Here’s how to take a big, old hardcover book and turn it into a jaw-dropping, conversation-starting masterpiece that screams personality… without spending a fortune.
DIY Cocktail & Coffee Table Book: Give a Thrifted Book a Totally New Life

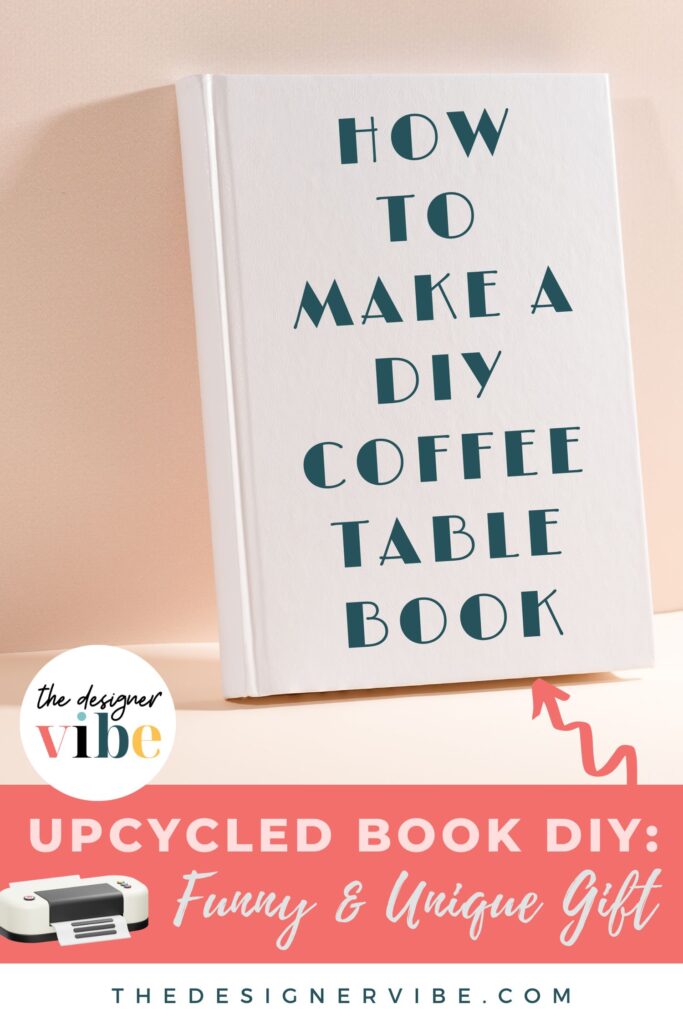
Give an old hardcover book a total glow-up by turning it into a custom cocktail or coffee table showpiece. Using paint, a printed dust jacket, or a sleek vinyl title made with a Cricut, you’ll upcycle a thrifted book into a funny, stylish, or totally shocking decor piece (and an unforgettable gift!). Perfect for white elephant parties, housewarmings, or anyone who loves a little personality with their decor.
Materials
- Large hardcover book (thrifted, recycled, or repurposed)
- Acrylic paint – for bold or abstract cover designs
- Paint sealant or Mod Podge – to protect your finished design
- Printer & paper – if creating a custom dust jacket
- Cardstock or glossy paper – for a more polished printed cover
- Vinyl sheets (adhesive or iron-on) – for the Cricut version
- Transfer tape – to apply vinyl lettering cleanly
- Double-sided tape or glue stick – to secure dust jackets
- Painter’s tape – for clean paint lines or geometric patterns
- Gold or silver leaf (optional) – for fancy edges or accents
- Decorative paper or fabric (optional) – for mixed-media designs
Tools
- Cricut machine (if making a vinyl design)
- Cricut Design Space software
- Weeding tool & scraper tool – for precise vinyl application
- Paintbrushes – a mix of flat and fine-tip brushes
- Scissors or craft knife – for cutting dust jackets or details
- Ruler & pencil – for measuring and sketching your design
- Sanding block (optional) – to prep glossy covers before painting
- Clear workspace – because no one wants paint on their coffee mug
Instructions
Step 1: Hunt Down Your Base
First things first, find your book. Head to a thrift store, garage sale, or even your own shelves if you’ve got a dusty giant hiding somewhere. You’re looking for a hardcover, the bigger the better—it needs to command attention on the table. Bonus points if the original cover is already “meh,” because you’re about to completely obliterate it.
Step 2: Brainstorm Your New Identity
Time to get creative. Think about a title that will shock, amuse, or make people do a double-take. Here are some ideas to get your brain firing:
- “101 Ways to Survive Your In-Laws (With Wine)”
- “Cacti and Cocktails: The Desert is Thirsty”
- “Manual for the Modern Procrastinator”
- “Secrets of the Office Happy Hour”
- “Meditation for People Who Hate Meditation”
Pick a tone that suits your recipient—or just go completely over-the-top ridiculous.
Step 3: Decide Your Look
Next, decide how you’ll cover your new masterpiece. You have a few options:
- Painted Cover: Acrylic paint works beautifully on hardcovers. Go bold with block colors, abstract shapes, or even a faux leather effect with metallic touches.
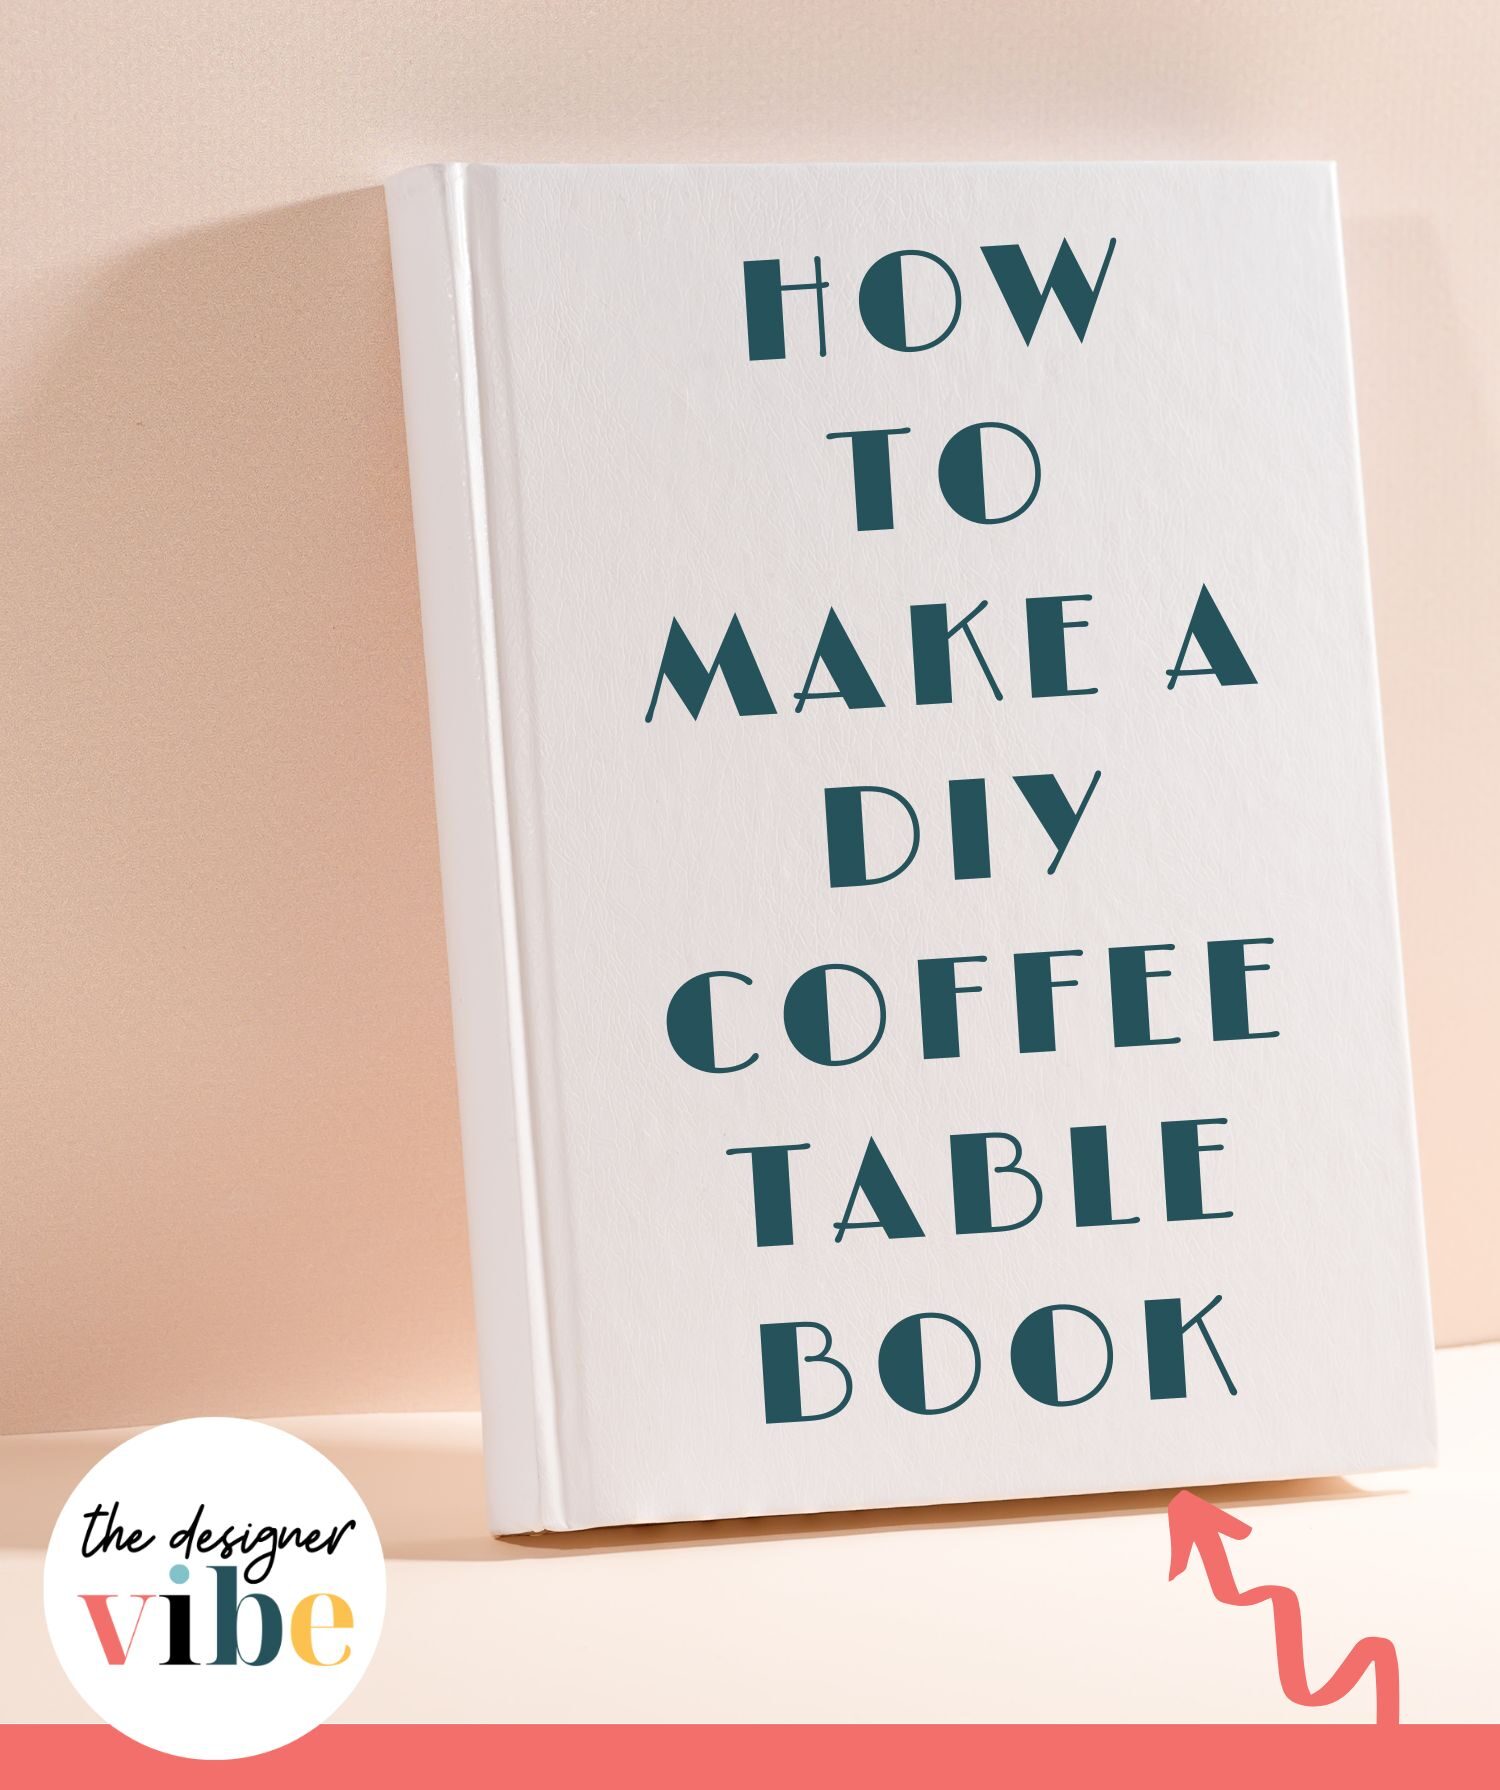
- Custom Dust Jacket: Print a dust jacket with your new title and a quirky illustration. Wrap it around the book like a real hardcover—instant makeover.
- Mixed Media: Layer paint, paper cutouts, stickers, or fabric. The more unexpected textures, the better.
Step 4: Prep the Book
Before you start, make sure your book is clean and dry. If you’re painting directly on the cover, lightly sand it for better adhesion. If you’re making a dust jacket, measure carefully to fit the book snugly. Pro tip: test your print on regular paper before committing to glossy or heavy cardstock.
Step 5: Design & Apply
- For Painted Covers: Sketch your design lightly with pencil, then go over it with paint. Use painter’s tape for clean edges and let each layer dry before adding details. Finish with a clear sealant so your design lasts through coffee spills and casual handling.
- For Dust Jackets: Print, cut, and fold your dust cover around the book. Secure with a tiny strip of double-sided tape if needed, but keep it loose enough that it slides off easily.
Notes
Designer Detail: Using foil Cricut vinyl would glow up this book for real!
Recommended Products
As an Amazon Associate and member of other affiliate programs, I earn from qualifying purchases.
Keep Designing –
- 10 Brilliant Budget Living Room Makeover Ideas That Won’t Drain Your Wallet
- My Amazing Easy Dollar Store Coffee Table
Step 6: Cricut Upgrade Option (Fancy, Chic, and a Little Extra)
If you want to take your book from quirky to upscale, a Cricut machine + adhesive vinyl is the way to go. Here’s how:
- Design Your Title: Use Cricut Design Space to create a sleek, stylish font for your book title. Play with script fonts, metallic vinyl colors, or even layering different shades.
- Cut and Weed: Load your vinyl and let the Cricut work its magic. Weed out the negative space to reveal your design.
- Transfer to Book: Use transfer tape to carefully place the vinyl on your cover. Smooth it down so it sticks perfectly.
- Finishing Touch: Add small vinyl accents like borders, icons, or even a tiny signature inside the book for a polished look.
Not only does this make your gift look high-end, it also gives you bragging rights for using a Cricut like a pro. (Pssst… if you’re grabbing supplies, you can use my Cricut affiliate code here to score a deal!)
Step 6: Add Extra Flair (Optional)
Because we’re not here to do “meh,” think about adding some finishing touches:
- Gold or silver leafing on the edges
- Handwritten quotes on page corners or inside covers
- A small, hidden message or drawing tucked in the folds of the dust jacket
This is where your personality really shines—and where the recipient will get that “wait… did she do this?!” moment.
Step 7: Wrap & Present
You’ve got your conversation starter, your “wow” factor, and your personal touch. Now wrap it up—or don’t. Sometimes a book this bizarre looks even better just sitting there, unwrapped, daring people to pick it up.
This is one of those projects that’s as fun to make as it is to gift. It’s thrifted, it’s recycled, it’s personal, and let’s be honest—everyone at that white elephant party is going to fight over it. And if they don’t? Well, at least you had fun making something truly ridiculous, beautiful, and completely yours.

Inspiration Mockups
Here are a few ideas to get your creative juices flowing:
- “Plants, Booze & Other Life Necessities” – layered mixed media: painted background, vinyl accents, tiny paper leaves.
- “100 Ways to Drink Coffee and Ignore Responsibilities” – bright neon painted cover, chunky black block font.
- “The Lost Art of Napping” – soft watercolor cover, metallic gold vinyl title using Cricut.
- “How to Apologize with Wine” – custom dust jacket with playful illustrations of wine glasses clinking.
DIY Custom Coffee & Cocktail Table Book: Upcycled Thrifted Book Tutorial for White Elephant Gifts
This project is fun, personal, and totally adaptable. Whether you go painted, printed, or Cricut-fancy, it’s the kind of gift people fight over at white elephant parties—and the kind of project that makes you feel like a crafting genius.