It’s official! I think I must have been a cat in another life, because I love shiny things! All kidding aside, I really am drawn to reflective objects like those starburst mirrors I like to swoon over. This is what lead me to my latest DIY. I decided I wanted to apply a mercury glass finish to the reverse of my living room side table. Want to know how my mirrored glass tabletop turned out? Ok, just keep reading.
Mirrored Glass Tabletop
This post may contain affiliate links. You can check my disclosure for more info!
Jazzing up my table

I featured my little glass side table in Shop my Livingroom. I have had the table for years. Lately, I looked and it and felt it needed a little jazzing up. I have been wanting to try the Looking Glass paint for awhile. I have a few mercury glass pieces, love them and I have thought about making a few myself. So why not use this on the glass table top?
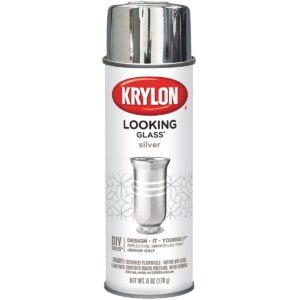
I purchased the Krylon Looking Glass spray at Michael’s last weekend with a 50% off coupon. The paint runs about $15 for a small 6 oz can so 50% was sweet savings. Especially since I wasn’t sure if I would need two cans. Gotta love those coupons!
[raw_html_snippet id="michaels coupon - square"] |
The paint job was fairly straightforward. After shaking the can for 1-2 minutes, the directions say to apply 5 thin coats about a minute apart. Applying in a sweeping motion. I was sure to turn 180 degrees and apply every other coat to ensure I covered the whole surface.
TIP: Do this project outside! It is really strong and stinks!
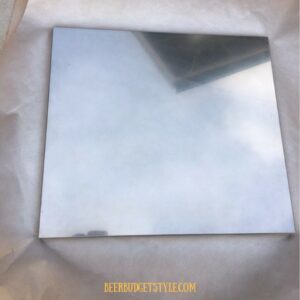
After 5 coats I thought it was opaque enough. I could see the house in the reflection so I thought it was good. I waited an hour to make sure it was completely dry before I handled it, only to take it in the house and see that there were some bare spots. Back outside I went.
TIP: If you use a patterned cardboard or posterboard underneath the glass it will help you gauge opacity of coats.
[raw_html_snippet id="starburst mirror amazon"] |
Take Two!
Let’s try that again! I decided to just use the entire can and see if I would need to purchase more. All told, I think I applied about 8 coats (waiting at least 1 minute between coats). The can says that it dries to the touch within 10 minutes and is ok to handle after an hour. So again I waited (cue the jeopardy music).
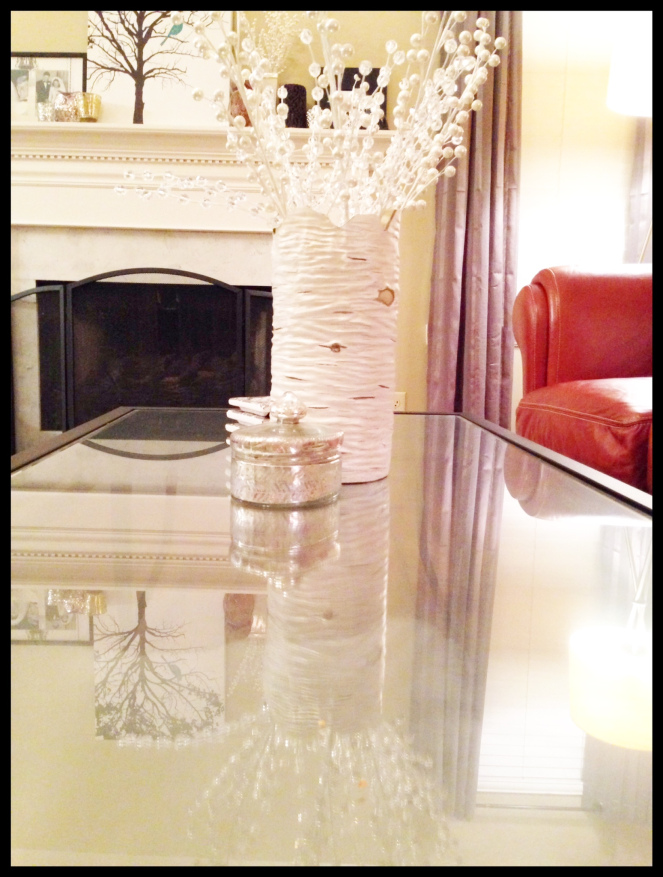
Back inside the table top looked a lot better with the additional coats. I was careful to handle the edges of the glass, just in case it wasn’t cured.
And that’s it! I now have a mirrored glass tabletop.
TIP: You could apply a favorite phrase or poem to the glass and then spray it for a real unique effect.

TIP: You could actually do this project using plain spray paint to add a fun color.
How I Rate This Project:
- I really loved this quickie project. You could do this one in between commercials.
- If I hadn’t underestimated the need for additional coats, I could have been done in less than 2 hours including drying time.
- With my coupon, I only paid about $7.00 for the can of Looking Glass paint
- The application was easy and I got no drips.
- The product does exactly what it says it will do. Reflective mirror like mercury finish.
- Super-easy project to give a designer touch to a plain piece of glass.
NOTE: I did have one FAIL. I think when I prepped the glass I cleaned only one side. The result was that in the end I had a streaky finish underneath the mercury finish (see the close up). BOO! Totally my fault! So I might be redoing this project at some point.
What do you think of my spray on mirrored glass tabletop? Have you ever used this Looking Glass paint before? Please leave me a comment below and tell me what you think about this product.
Keep Designing:
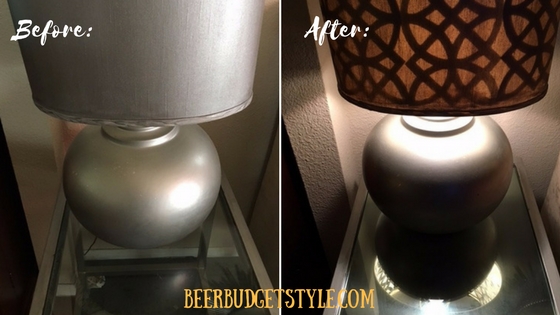
DIY Painted Custom Lampshade & Liner
LOW cost/HIGH style: Starburst Mirrors