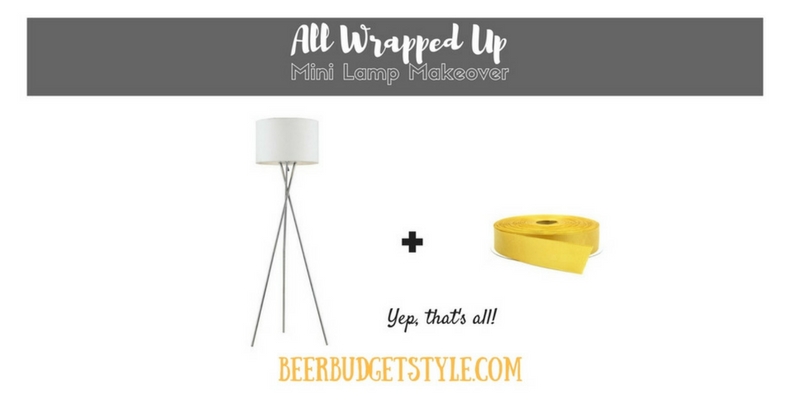
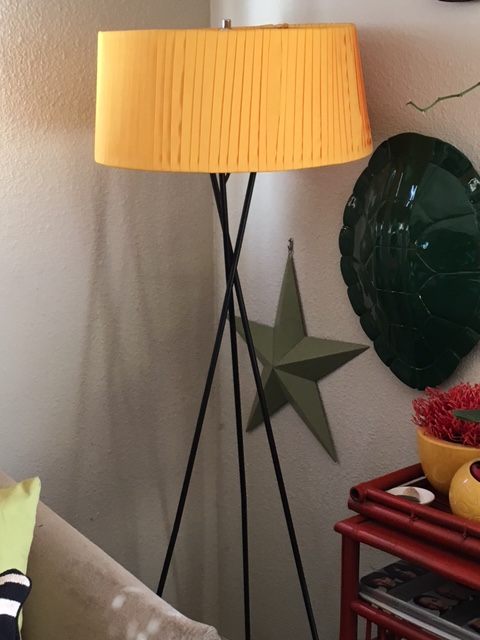
I get so many compliments on the floor lamp in my living room. One of the biggest compliments I get is whenever I see my lamp in designs featured in commercials, magazines or on design shows. I love it too! I actually put my own personal stamp on my lamp when I decided the lamp needed a colored shade. Instead of painting the lampshade, I wrapped it with ribbon. A ribbon-wrapped lampshade is a simple option for those plain ole white shades. It also allowed me to inject color into the room. This one was easy guys. You can do this one in an afternoon.
DIY Ribbon-Wrapped Lampshade: A Mini Makeover That Still Wows
You guys, I still can’t believe I wrote this back in 2016. Time flies—and somehow, this little ribbon-wrapped lampshade project has aged like fine wine (or, you know, budget-friendly DIY decor). I’ve actually seen this exact lamp in two commercials just this year (2025) — how wild is that? It seems to be having a total moment, and honestly, I’m still obsessed with it.
It leans right into my mid-century modern (MCM) sensibility: the clean lines of the lamp base + the warm, subtle texture of the ribbon = major design harmony in my space.
It was so cheap and easy to do. Seriously — a few yards of grosgrain ribbon, wrap, tie, done.
It’s totally changeable: if I want a new vibe, I just unwrap and re-wrap with a different color.
DIY ribbon-wrapped lampshade tutorial – The Inspiration
I was actually inspired by a project Sarah Richardson (a design goddess) did on her show many years ago. She simply wrapped a lampshade with ribbon and created a shade cover of sorts. I believe her lamp was a table lamp and so the shade was not as large as mine, but I felt confident the project would be just as easy.
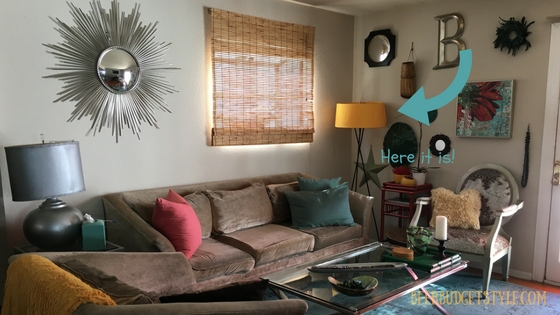
My Living Room
This project is a perfect for a thrift store find.
DIY ribbon-wrapped lampshade tutorial
This post may contain affiliate links. You can check my disclosure for more info!
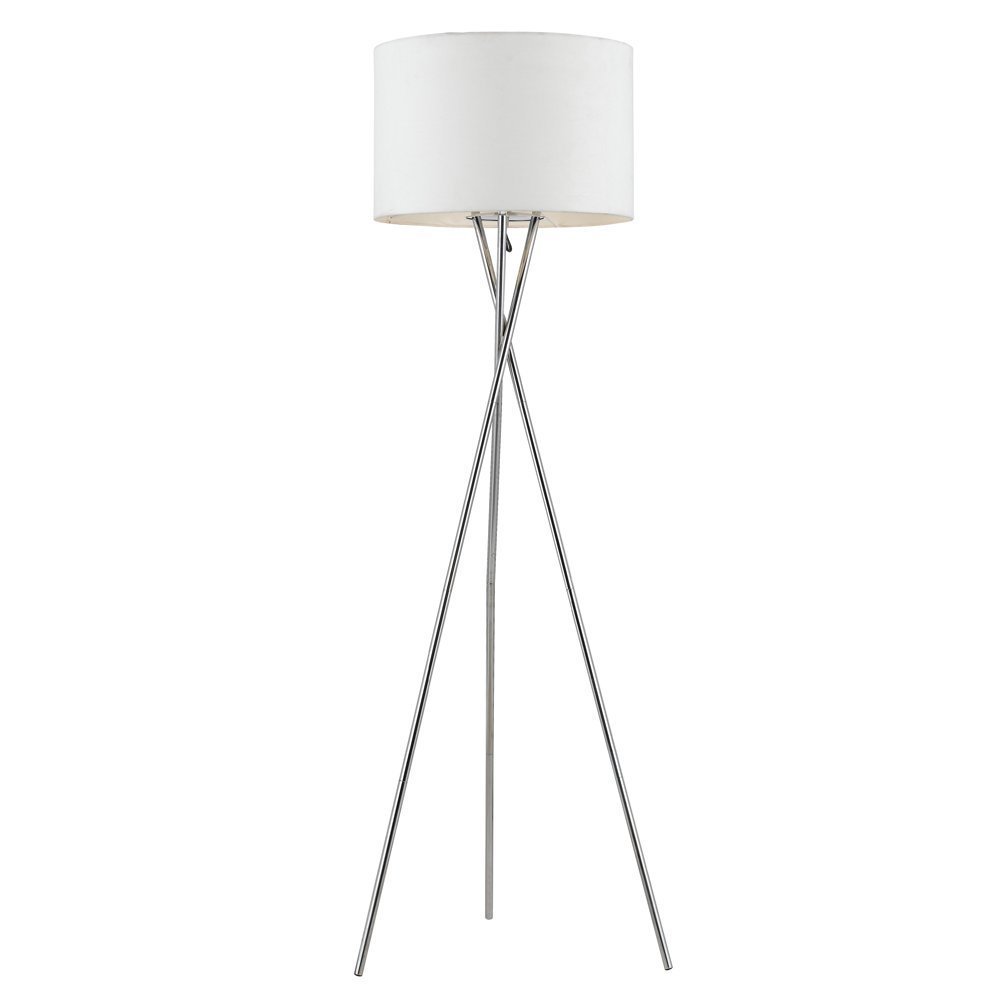
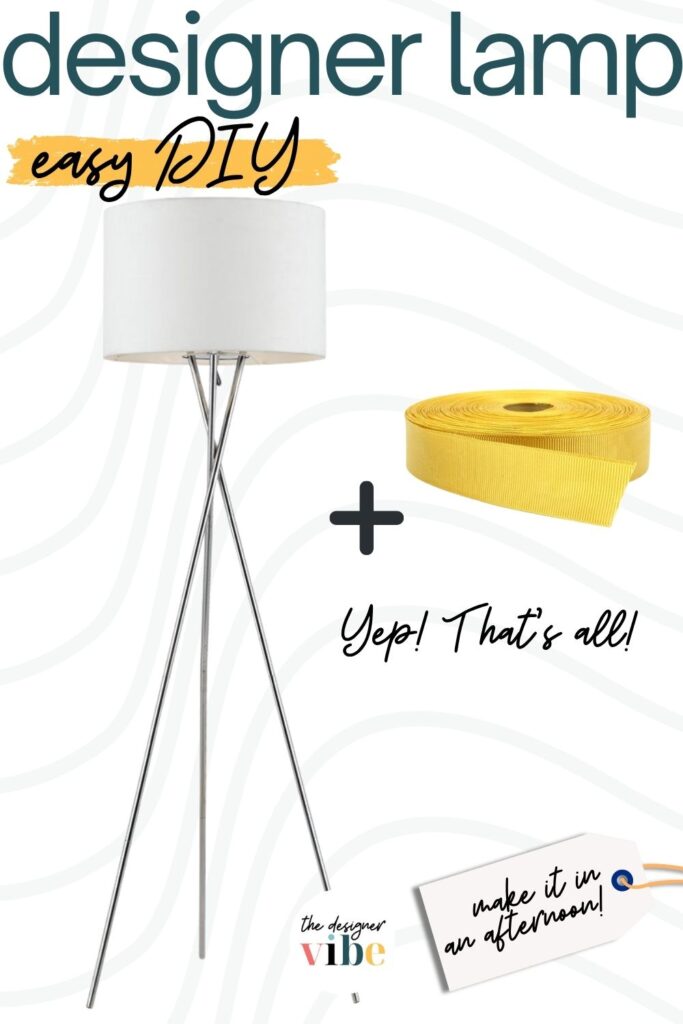
Here’s a lamp almost identical to mine. It’s a simple, yet architecturally pleasing to the eye. But I gotta throw shade on that shade! (Sorry I had to do it. It was just too easy. Ahem) I think we can do a little better. Don’t you?
What I Used
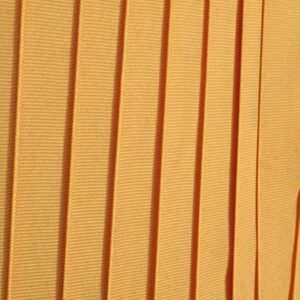
For mine, I grabbed a 1″ yellow-gold grosgrain ribbon (because, of course, gold speaks to me) and tied one end to the top wire spine of my lampshade. Then I just wrapped continuously around until I got back to where I started, and tied it off again. No glue, no mess — just patience and ribbon.
Buy lots of ribbon!
[raw_html_snippet id="michaels coupon - square"]
Pro tip: Buy more ribbon than you think you need. I underestimated mine big time. It’s way better to have leftovers than to run out mid-wrap.
Oh, I almost forgot. Buy a lot of ribbon! I can’t stress that enough. It might seem like it won’t take much ribbon to cover the shade, but experience has taught me that it takes much more than you think. So over-buy on the ribbon. You can always use the remnants to wrap birthday gifts later. Now I will say this project is long on time investment. It does take time to wrap the shade all the way around while lining up the ribbon to overlap evenly. So don’t expect to whip through this part in a few minutes. You might find yourself unwrapping and rewrapping along the way. Just take your time. But it is foolproof because it’s easy to make corrections.
Let’s Get Wrapping
I was right! This project was ridiculously easy. I chose a 1″ yellow-gold grosgrain ribbon, tied it to one of the spines in the top of the lampshade and simply wrapped it continuously around the shade. Once I had gone all the way around the shade, I tied off the end of ribbon to the other spine. Yep, that’s all there is to it. Easy-peasy!
How to Do It (Updated Tips for 2025)
Pick your ribbon wisely. Transparent grosgrain or satin works beautifully — just as I did with my yellow-gold ribbon.
Secure the start. Tie one end to a wire spine at the top of your shade frame.
Wrap slowly and evenly. Keep tension consistent so the ribbon lays flat and overlaps neatly.
Tie off cleanly. When you’ve wrapped all the way around, tie the end to another spine or tuck it discreetly.
Admire your work. Plug in the lamp, flip the switch — the light through the ribbon gives off a warm, cozy glow that feels designer but didn’t cost like a designer piece.
Another Way
I didn’t use any adhesive when for my diy ribbon-wrapped lampshade and thankfully, I don’t think it was needed. But here is a video of some smart ladies that back their ribbon with an adhesive. This might make the project go faster. Check it out.
The Golden Shade
Here’s my lamp again.
One of the things I loved about this project is it is a temporary transformation. If I ever want to change to a different color all I will need to do is buy more ribbon. One last point, covering the shade with the ribbon also protects the original shade. I’ll bet if I were to unravel the ribbon the shade probably still looks brand new.
Why It’s Smart (and Cheap)
Totally reversible: If you change your mind, swap out the ribbon. No permanent commitment.
Shape-protecting: The ribbon doesn’t just look pretty — it also helps hide any blemishes on the original white shade, and likely preserves it if you ever need to unwrap.
Effort level: You can get this done in an afternoon. It takes a little patience to keep the ribbon neat, but it’s pretty forgiving — you can unwrap and redo as you go.
[raw_html_snippet id="fabric.com create something fab med sq"]
Why You Should Try This Again (Even if You’ve Seen It Before)
It’s budget-friendly but looks high-end — perfect for budget decorators who still want that polished feel.
It’s swappable, so it’s a low-commitment way to refresh a room.
It speaks to your MCM style without overdoing it.
So what do you think? Are you just going to let your lampshades go bare or will you give them new life with a wrap session? Have you ever covered your lampshades? Please, show-and-tell. Leave me a comment below with pictures of your shady project.
Want to remember this post, DIY Ribbon Wrapped Lampshade – Mini Lamp Makeover? Pin it to your favorite Pinterest boards for later.